
Jira Epics Tutorial
This tutorial will explain how to use epics in agile software development with Jira Software. It will focus on epics in company-managed and team-managed projects.
Consider creating an epic if you have a large body of work that needs to be completed over several sprints or over a long period of time. You can also create an epic when you notice a pattern among several user stories, and you want to bundle them into one group. Check out our guide on Epics to learn about examples and templates.
Time:
10 minute read. Complete over 2 weeks or more
Audience:
You are new to agile software development or Jira Software
Prerequisite:
You have created a Jira Software account, and a Jira Software project (Scrum or Kanban)
Working with epics in company-managed projects
Step 1: Create a new epic in Jira Software
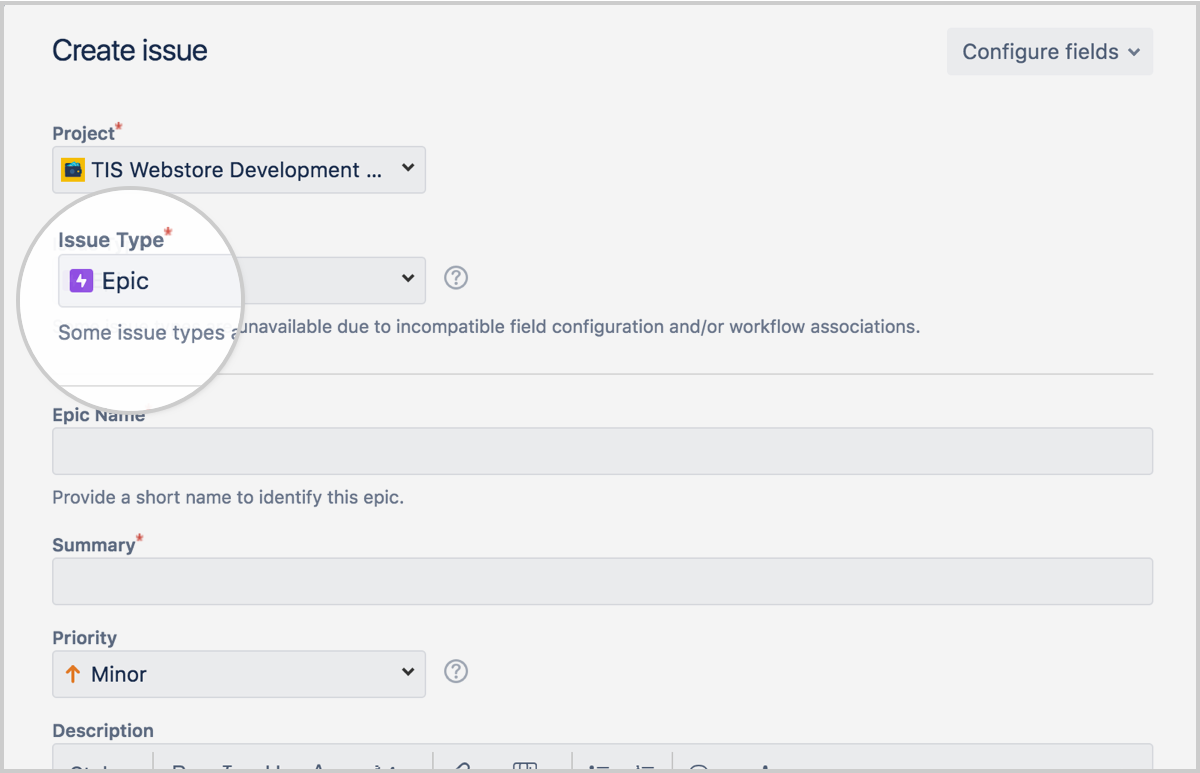
There are three ways to create epics in Jira Software the Roadmap, Backlog, and Global Create issue button. When you create an epic, you'll need to enter the following details:
- Epic name - A short identifier for your epic. This will be used as a label on issues that belong to this epic.
- Epic summary - You'll see this whenever Jira displays the epic.
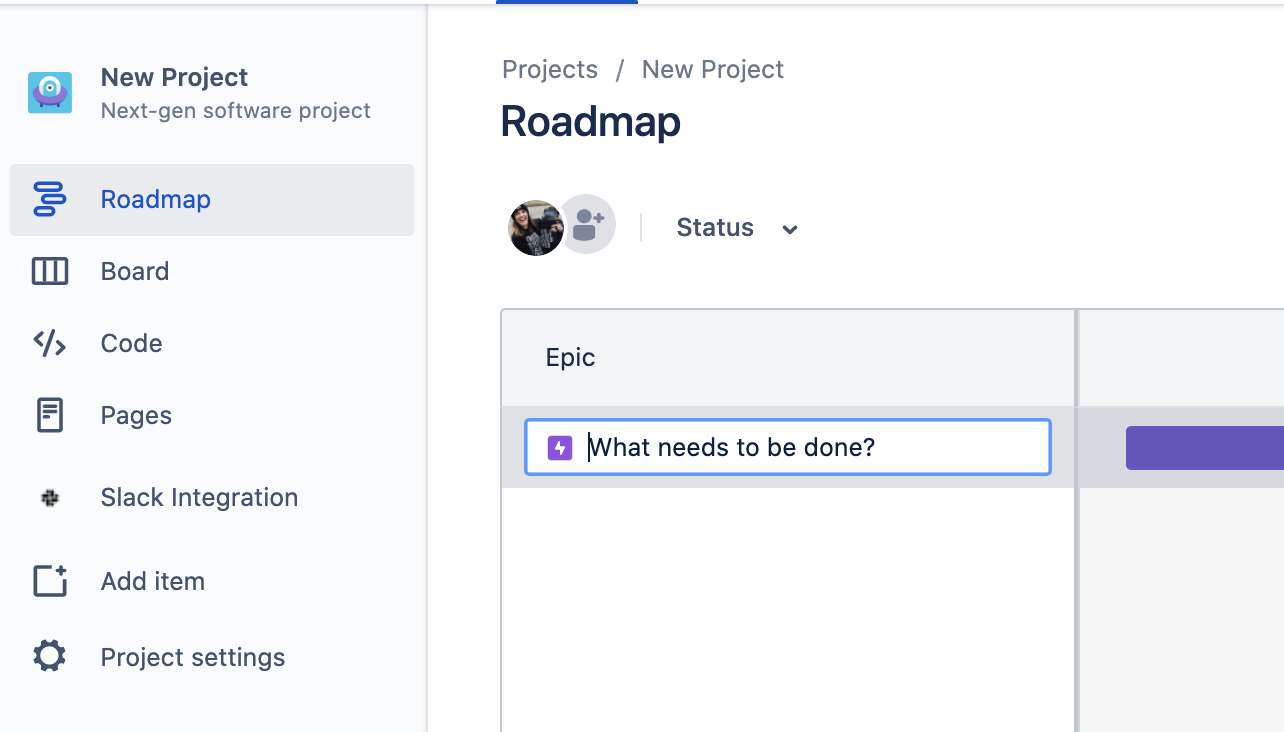
Create an epic on the Roadmap
The roadmap is useful for visualizing and planning large pieces of work that may be in progress right now or you may prioritize in the future.
First, enable the roadmap.
- From your board select More (•••) in the top right corner > Board settings
- In the Roadmap tab, enable the feature for your project.
- Then, select Roadmap from the menu on the far left.
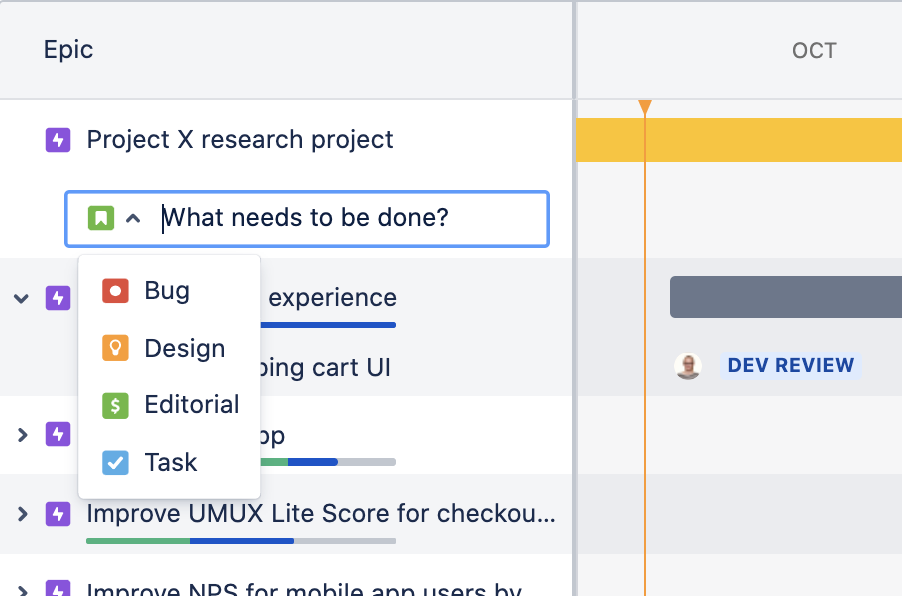
- Hit + Create epic on the Roadmap. If your Roadmap is empty, simply start typing to create your first epic.
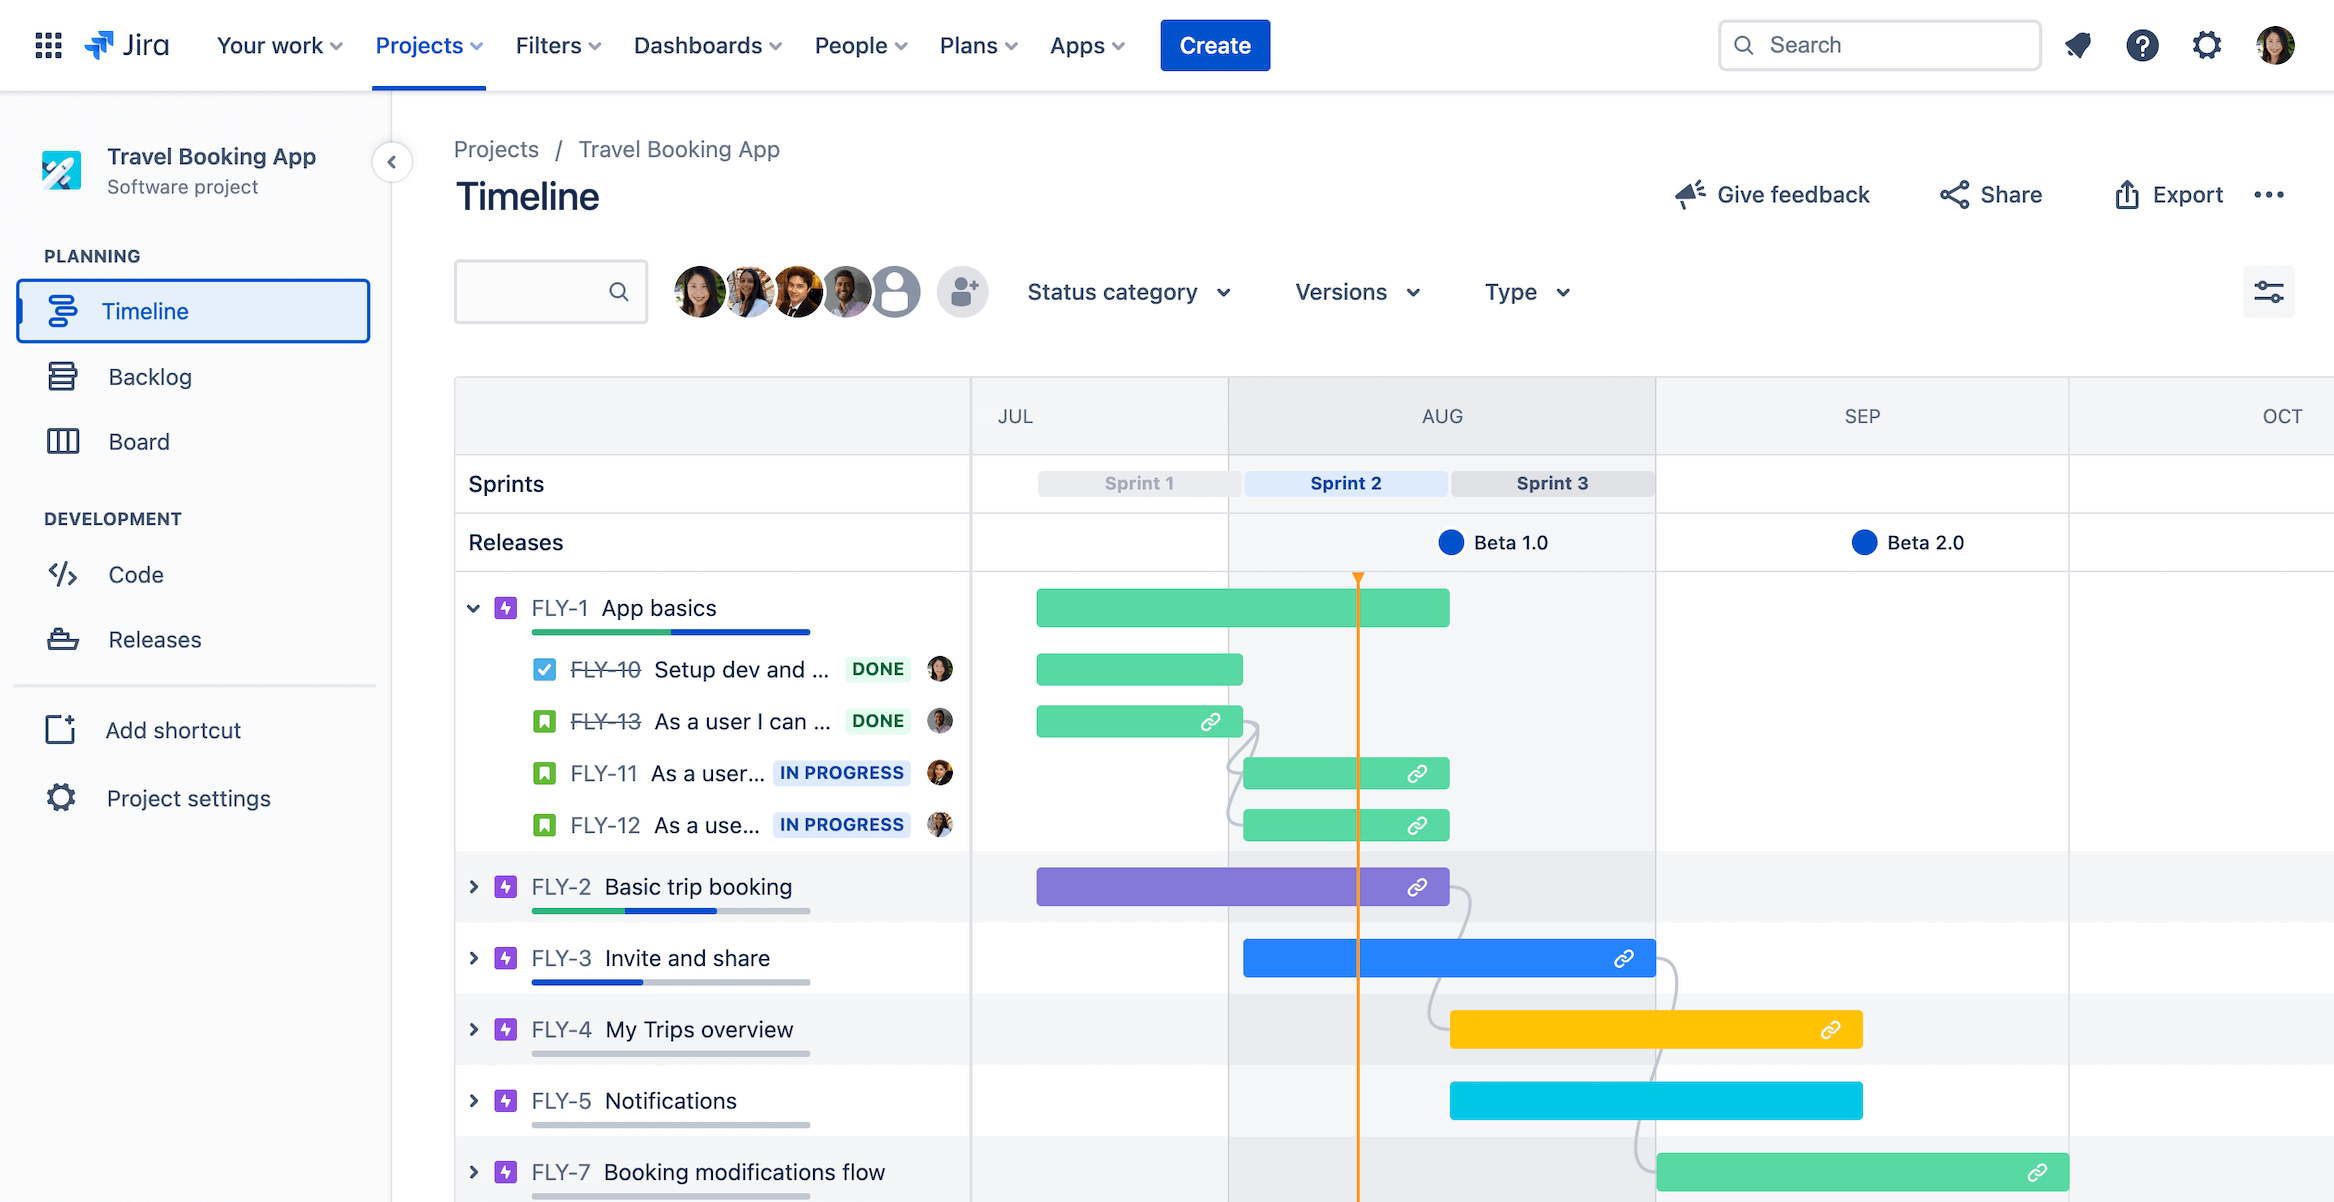
Pro tip: You can also create a new epic by hovering between epics on the roadmap. Learn more about roadmaps in Jira Software.
Create an epic from a new issue
You can create epics and any other issue types using the global navigation menu.
- Click the create button located in the global navigation bar at the top of the screen.
- Select Epic for the issue type.
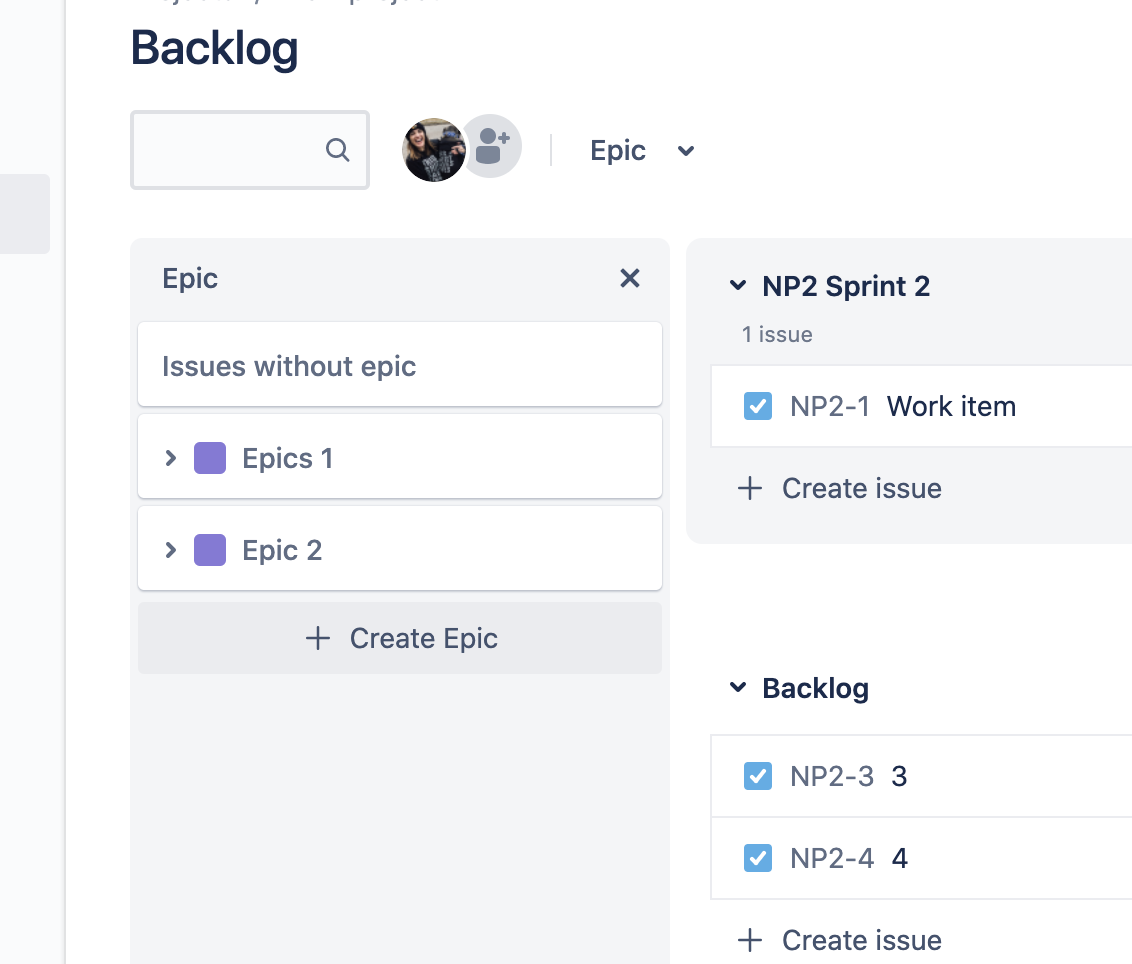
Create an epic from the Epic Panel in the backlog
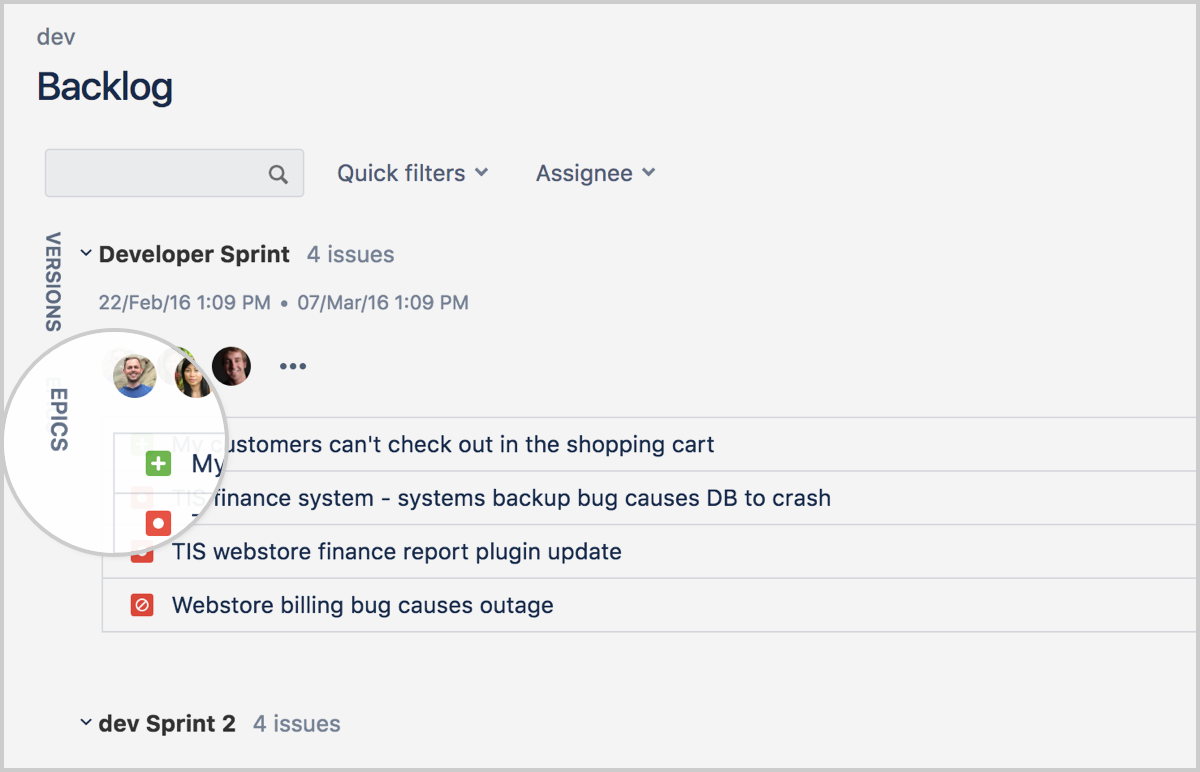
- Navigate to the Backlog.
- Click on the Epics Panel.
- Hit Create Epic.
Step 2: Add stories or child-issues
When you've created an epic, you'll need to add stories or child-issues to it.
Stories, bugs, and tasks describe a single piece of work, while epics are used to describe a group of issues that all relate to the same, larger body of work. Epics are typically completed over several sprints, or a longer time frame if you don't use sprints. Check out our guide on delivery vehicles to learn how agile teams gracefully manage scope and structure work. You can also reference the guide to working with issues in Jira Software.
There are two ways to add a story to an epic:
From the issue create screen
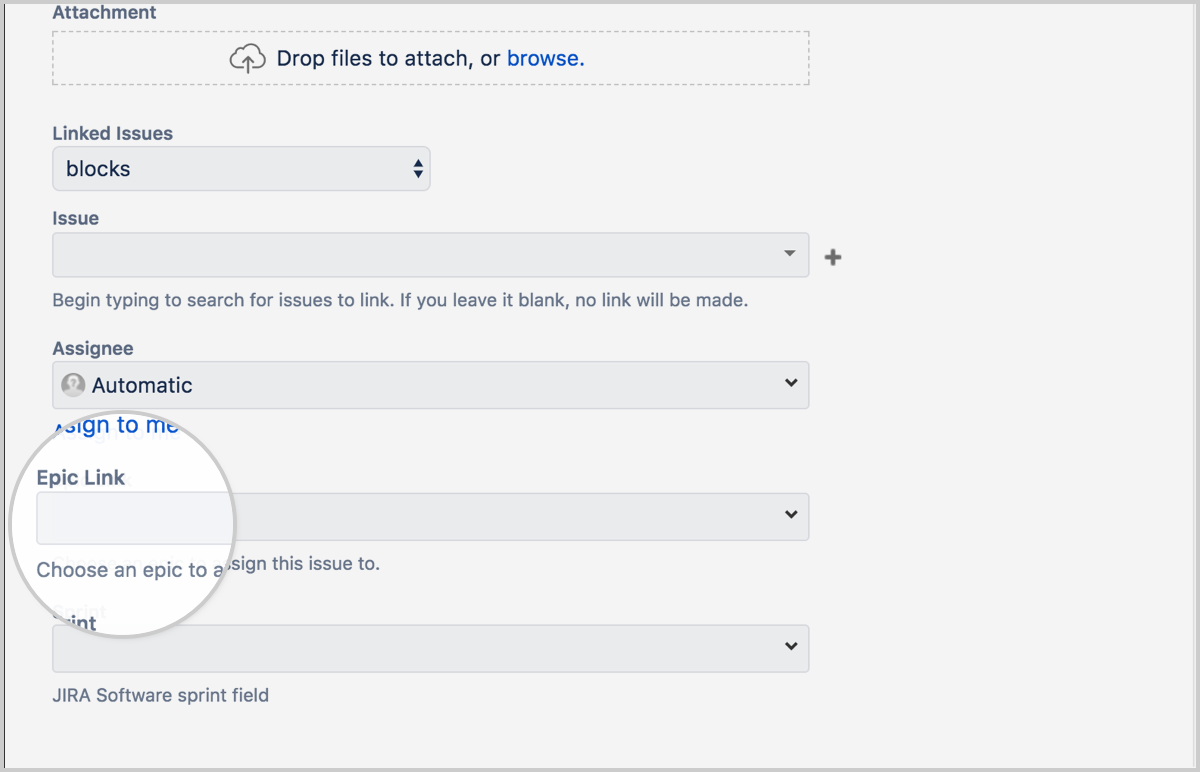
- Click Issue in the top-left corner. Select an issue type other than epic. Find the Epic Link field, and select your epic. Fill in any other details and click Create.
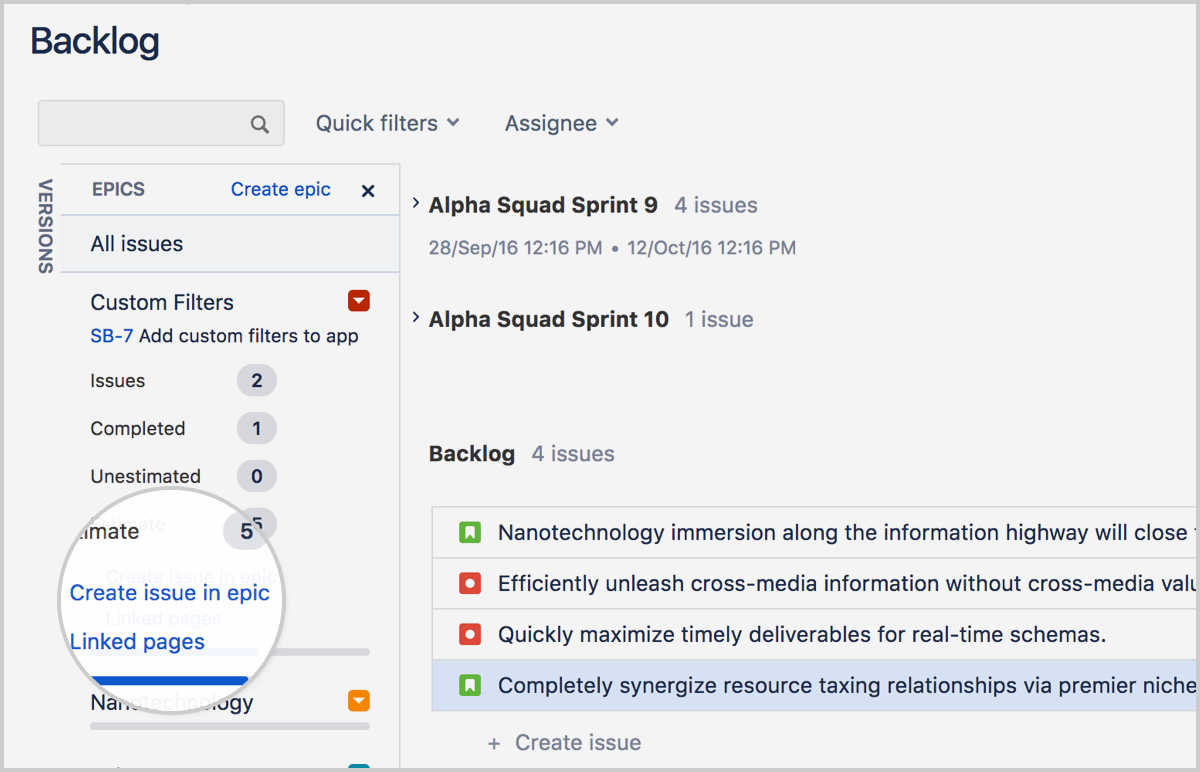
From the Epics Panel
-
Navigate to the Backlog.
-
Open the Epics Panel.
-
Hit Create issue in epic.
On the roadmap
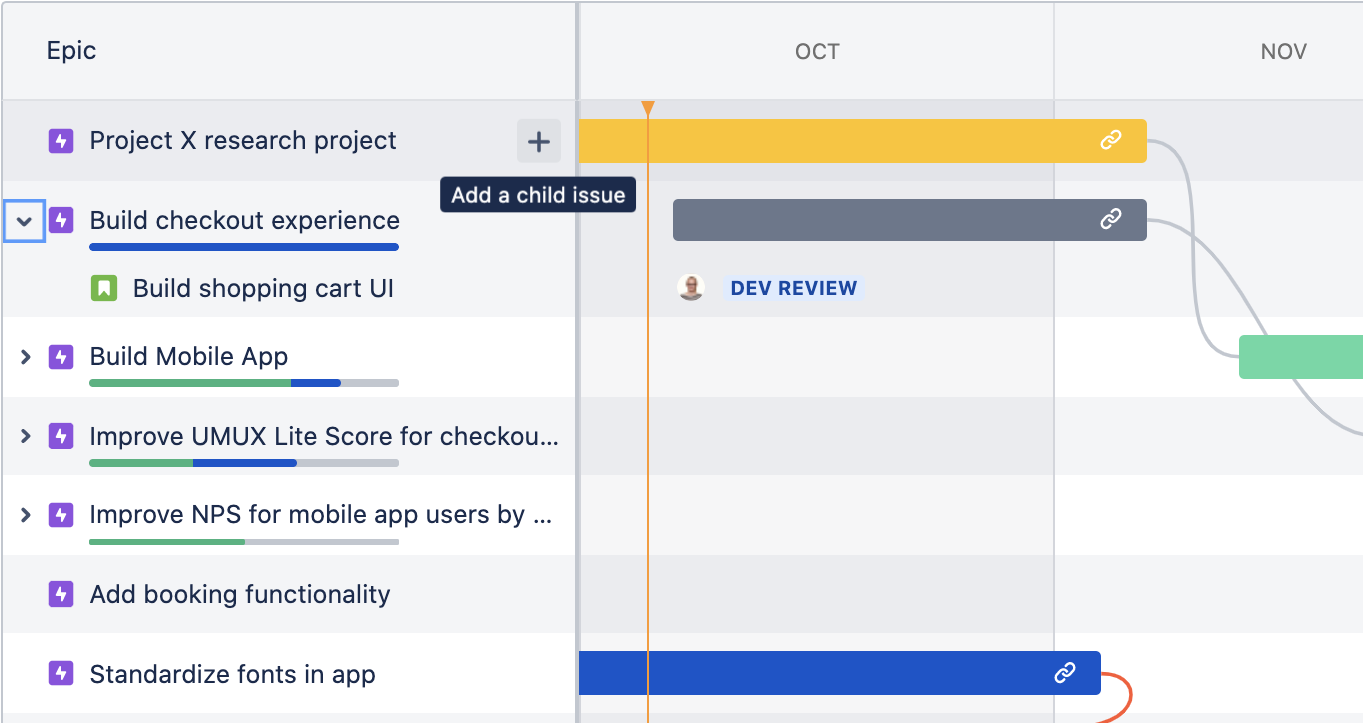
- Hover over an epic and click + Add a child issue.
- Choose an issue type, then hit enter.
To remove an issue from an epic
Navigate to either Backlog or Active sprints:
-
In the Backlog, drag the issue onto the Issues without epics section at the bottom of the Epics Panel; or
-
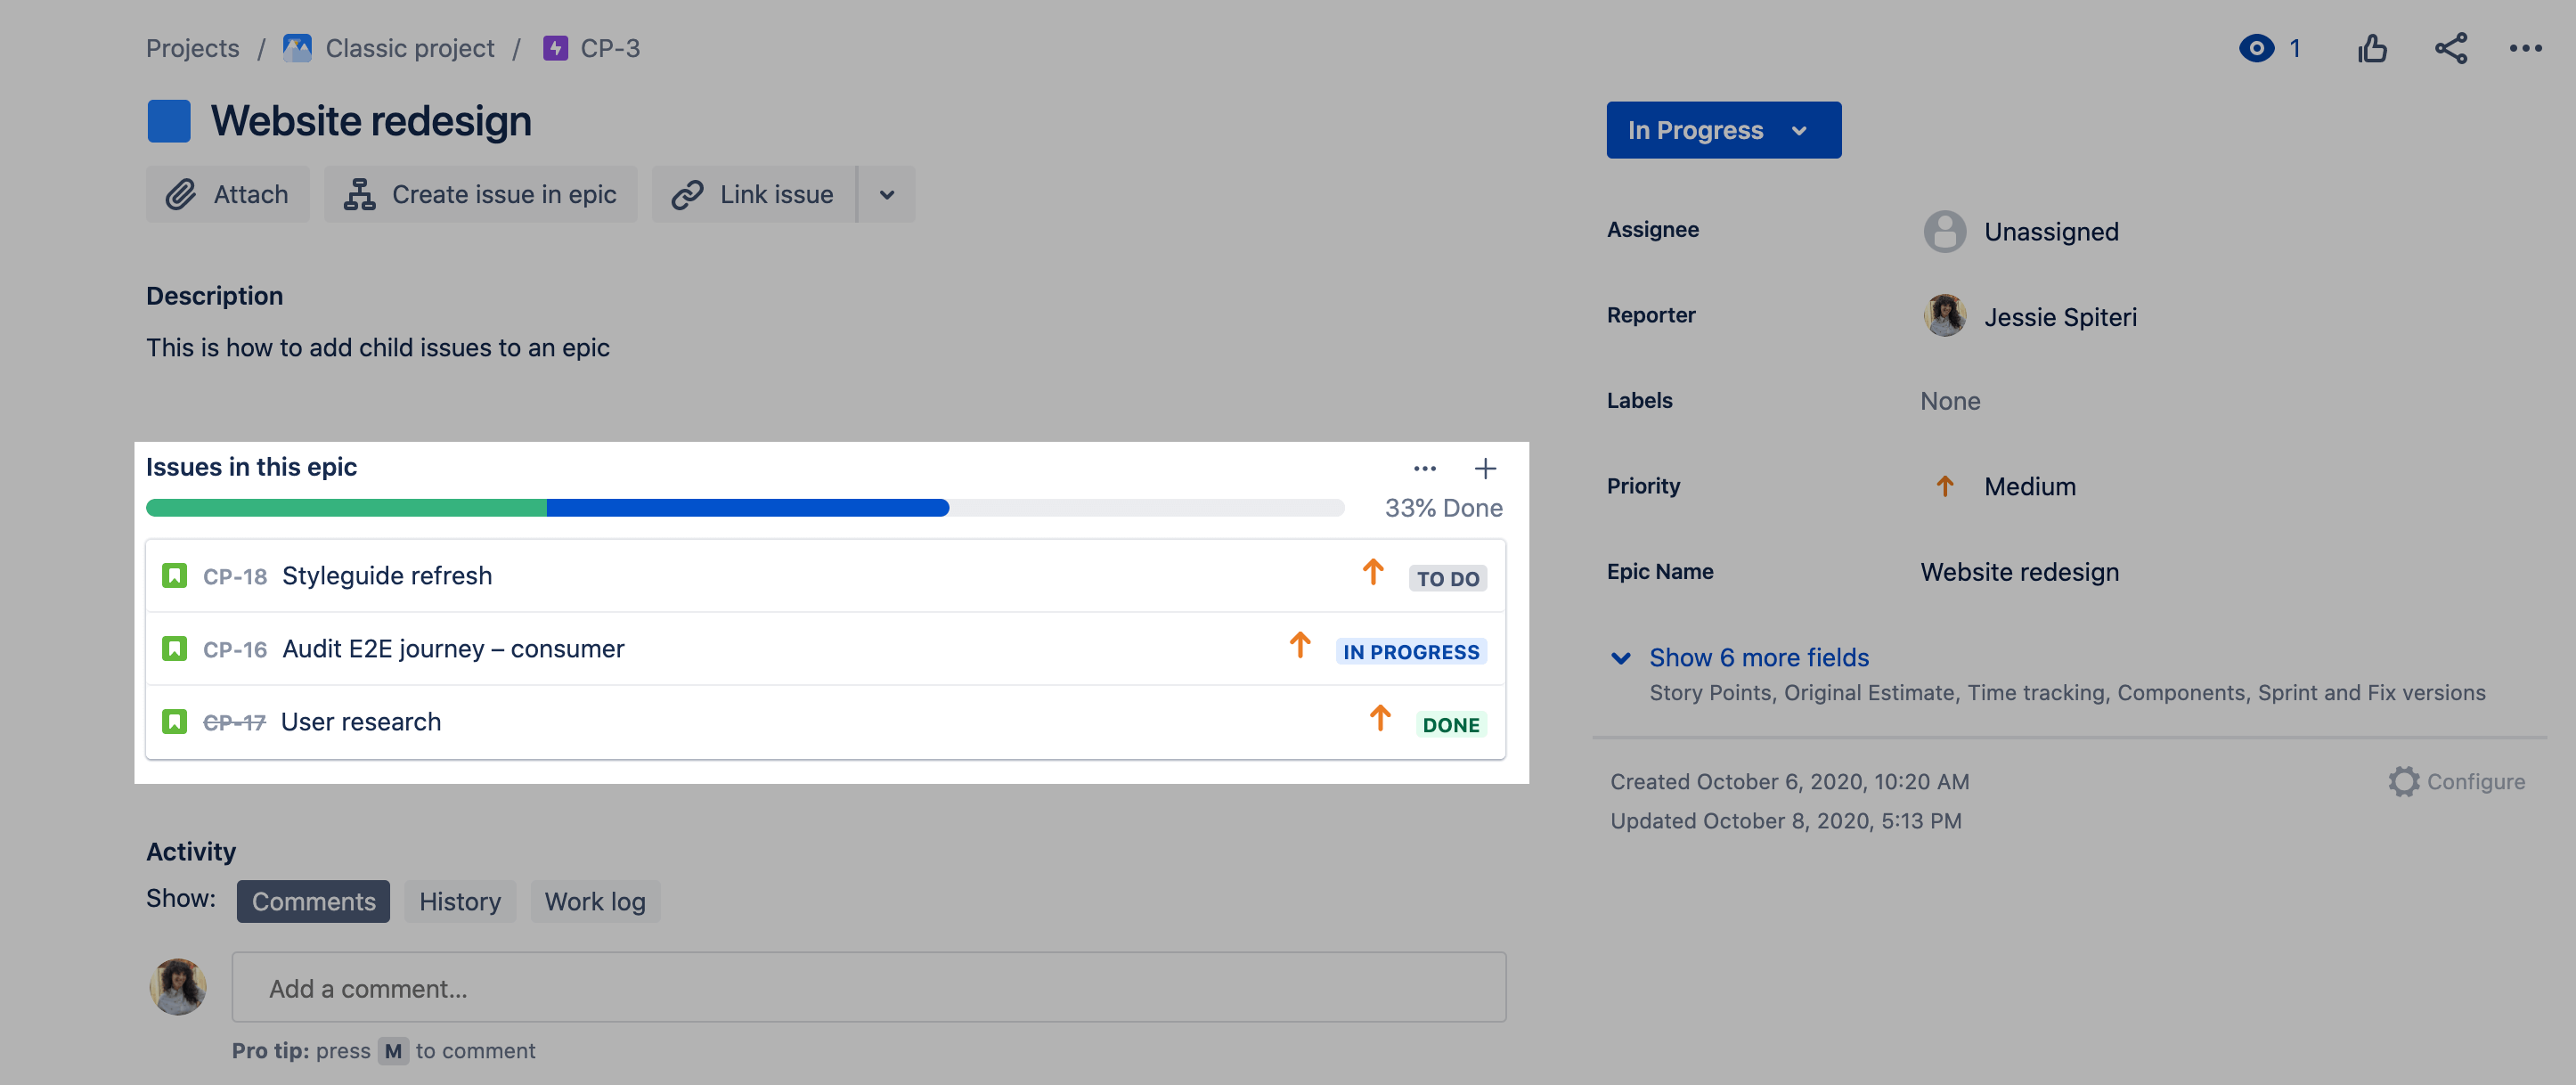
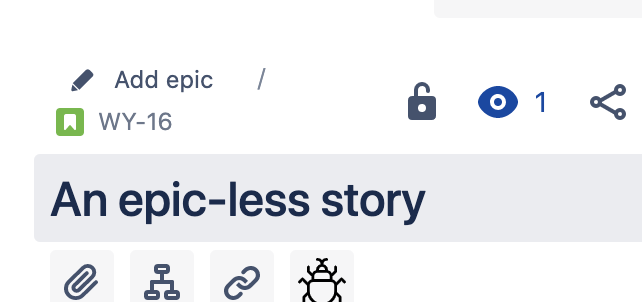
In either the Backlog or the Active sprints, click the relevant issue to display it on the right-hand side of the screen, then click the x in the epic name (e.g. "Apples" in Screenshot 1 below).
Step 3: Viewing your epics
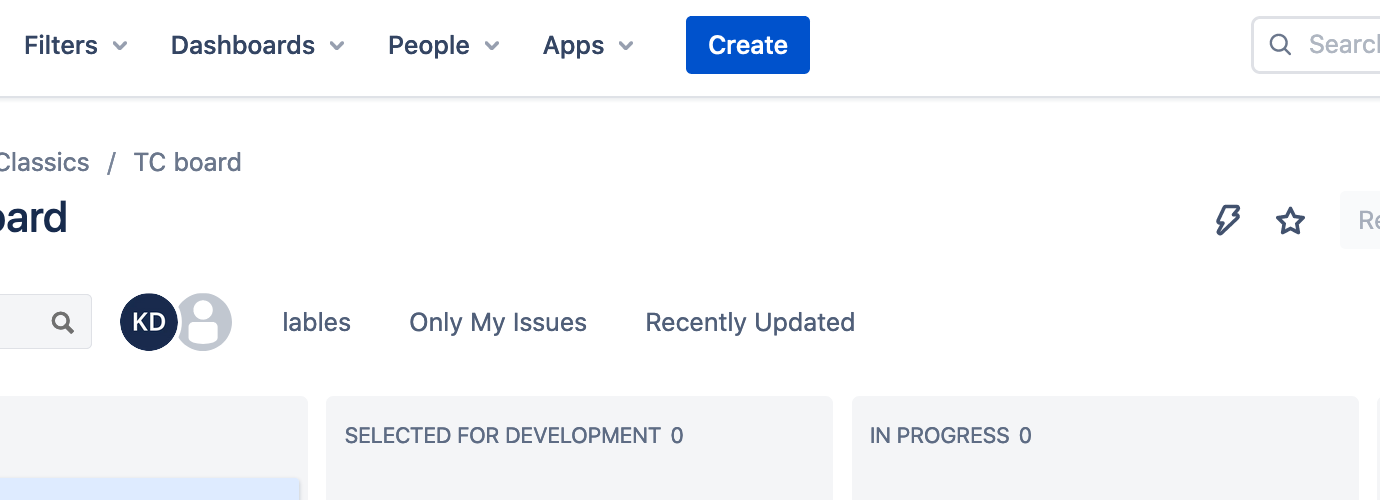
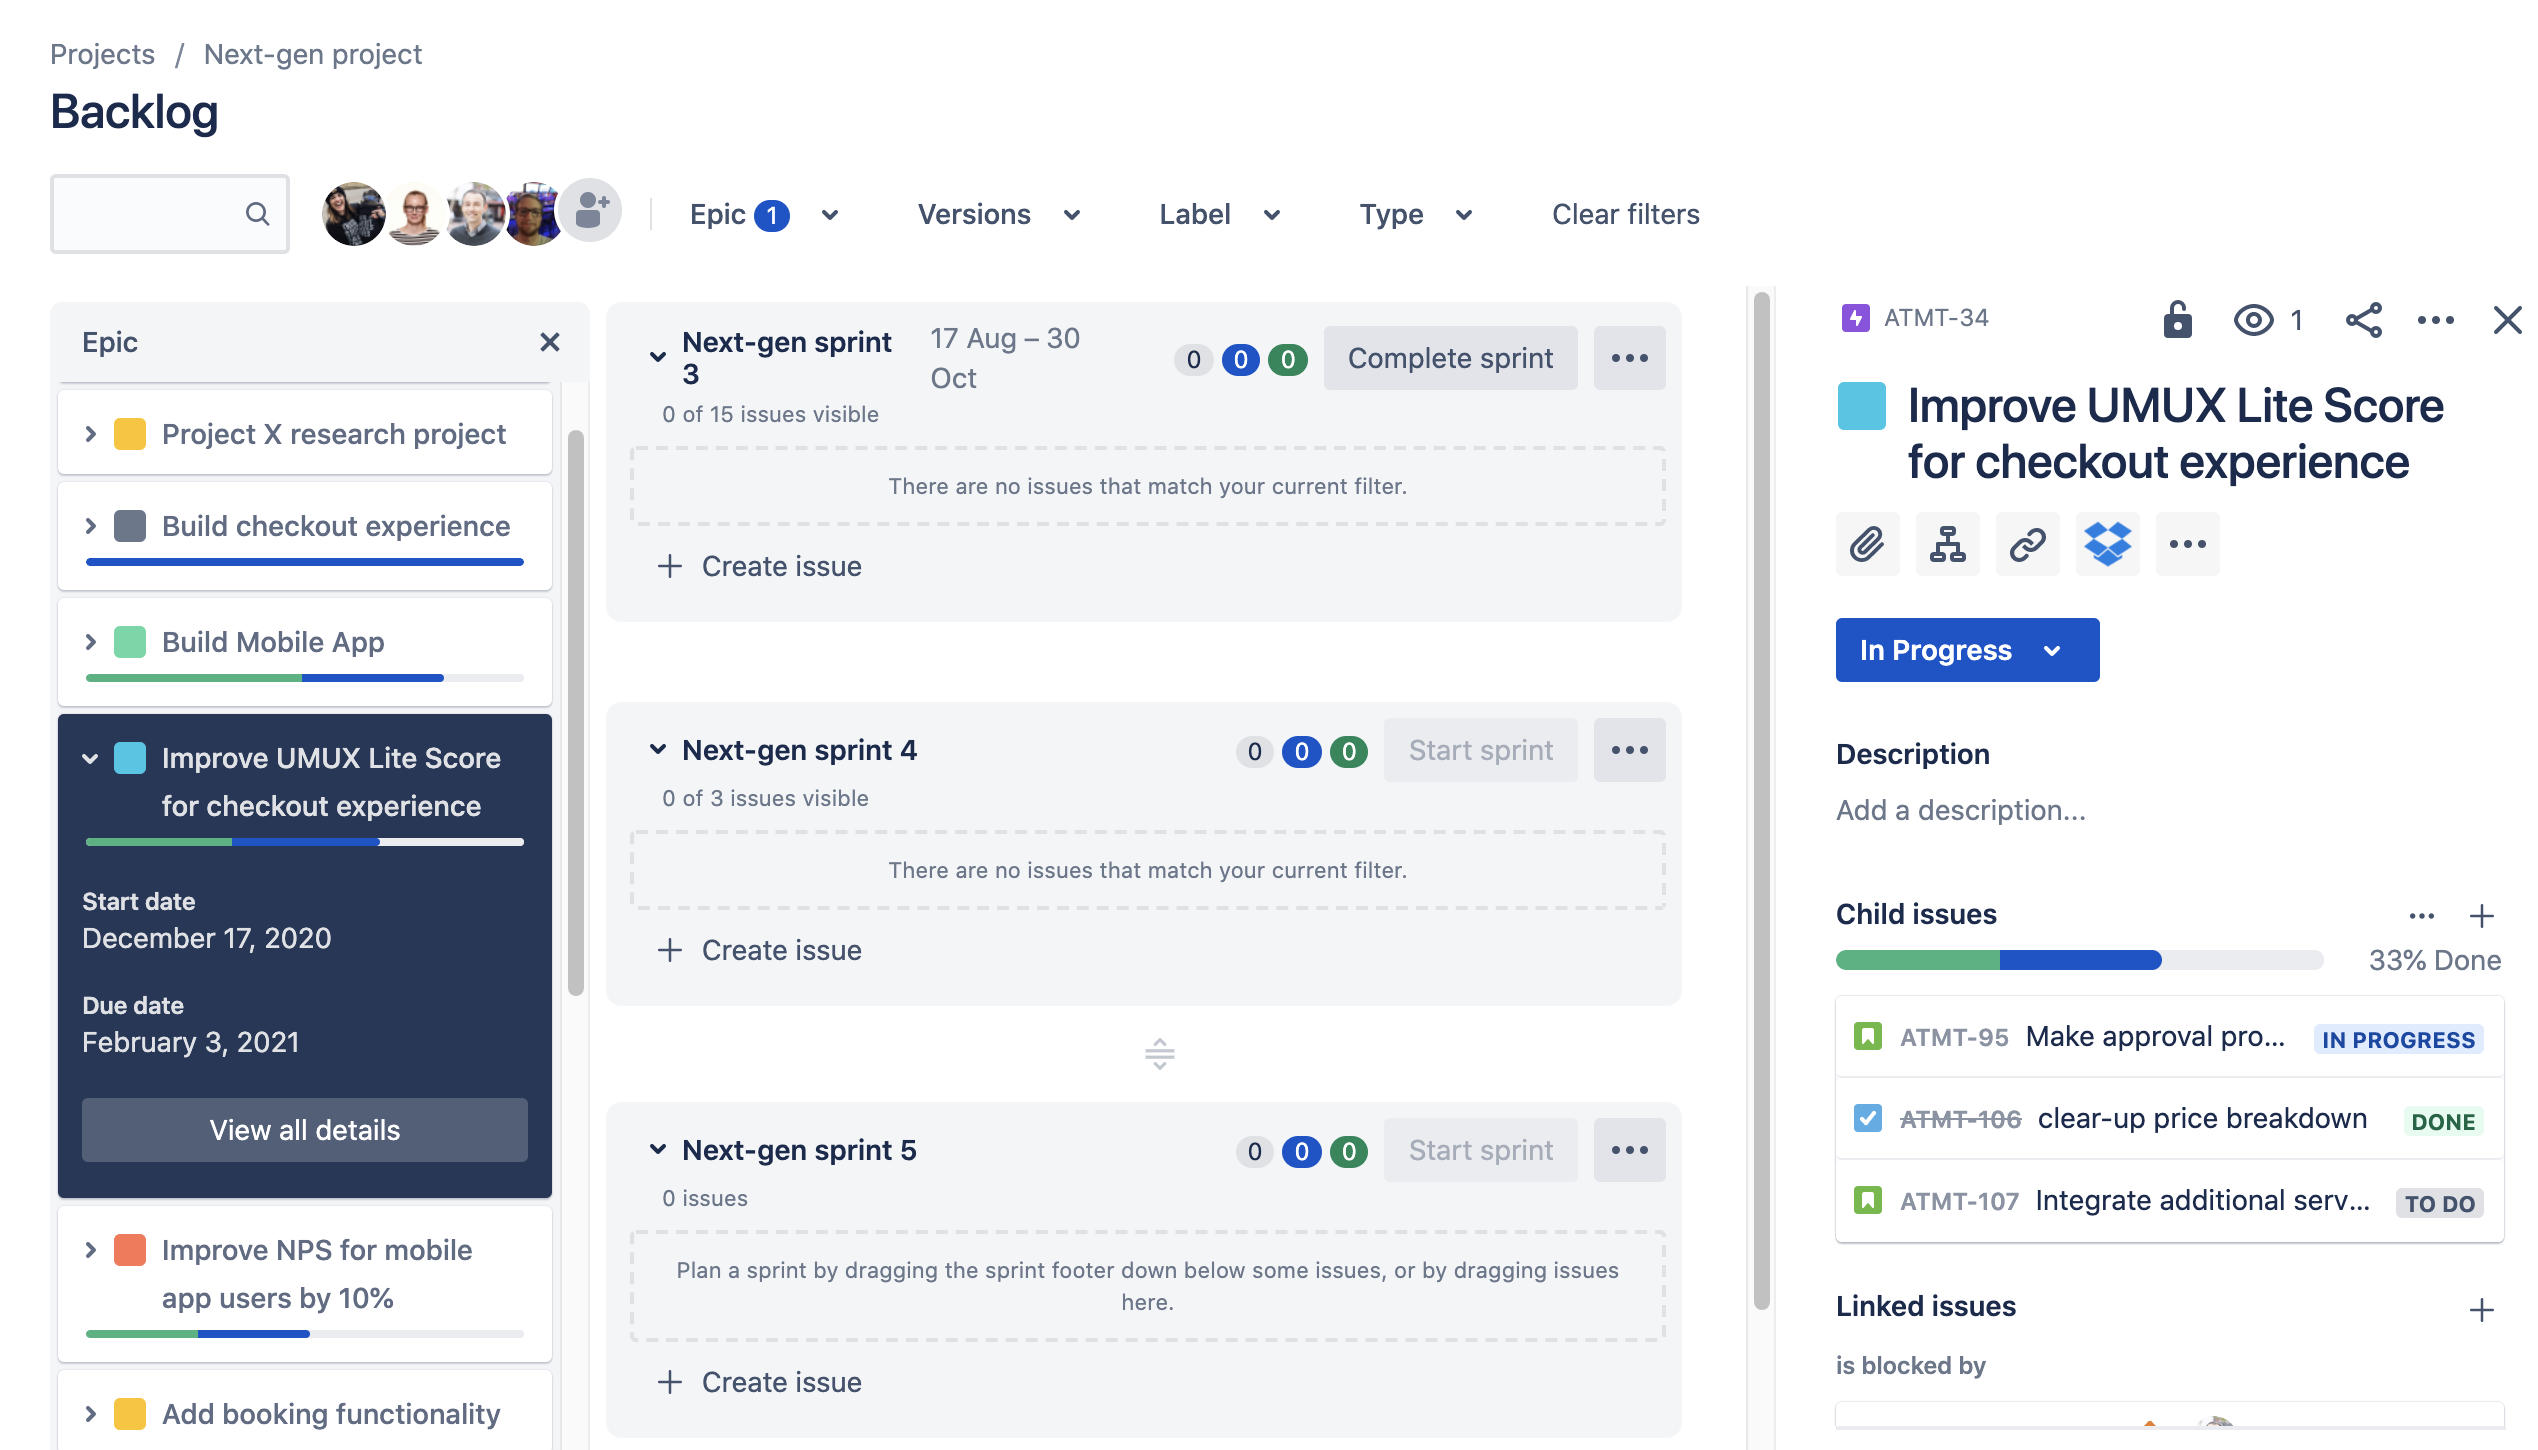
You can see information relating to all your epics in the Backlog.
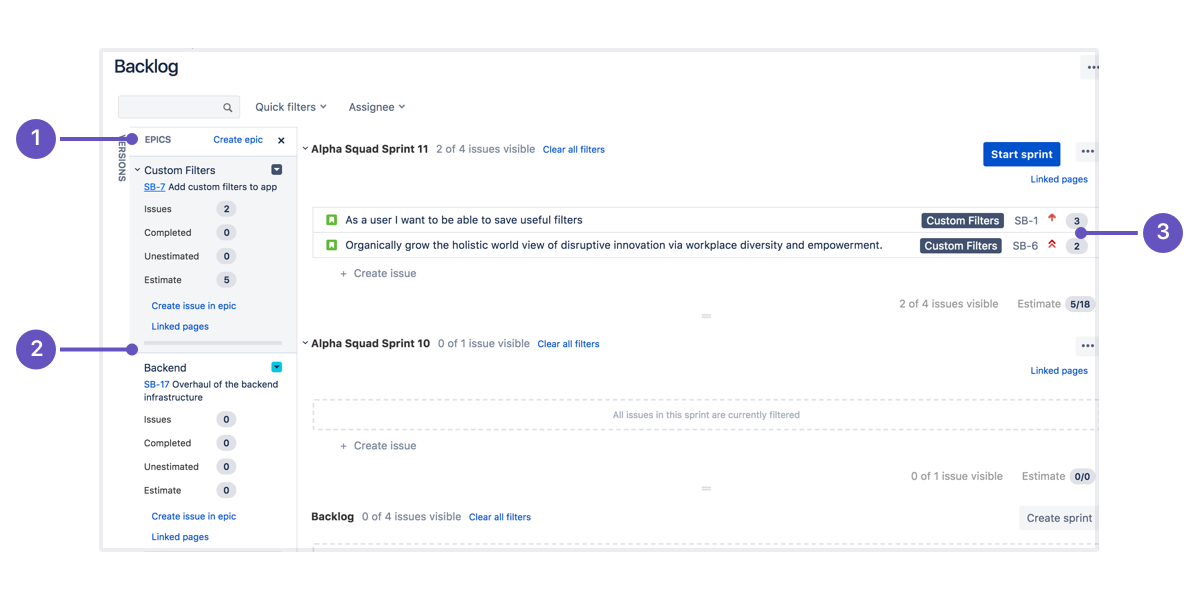
-
Epics Panel: Go to the Backlog and open the Epics Panel to view and manage your epics.
-
List of epics: The Epics Panel displays a list of all epics in your project.
-
View issues in epic: Click an epic's name to view all the issues belonging to that epic, across all sprints.
You can also view an epic issue to see a list of the stories it contains
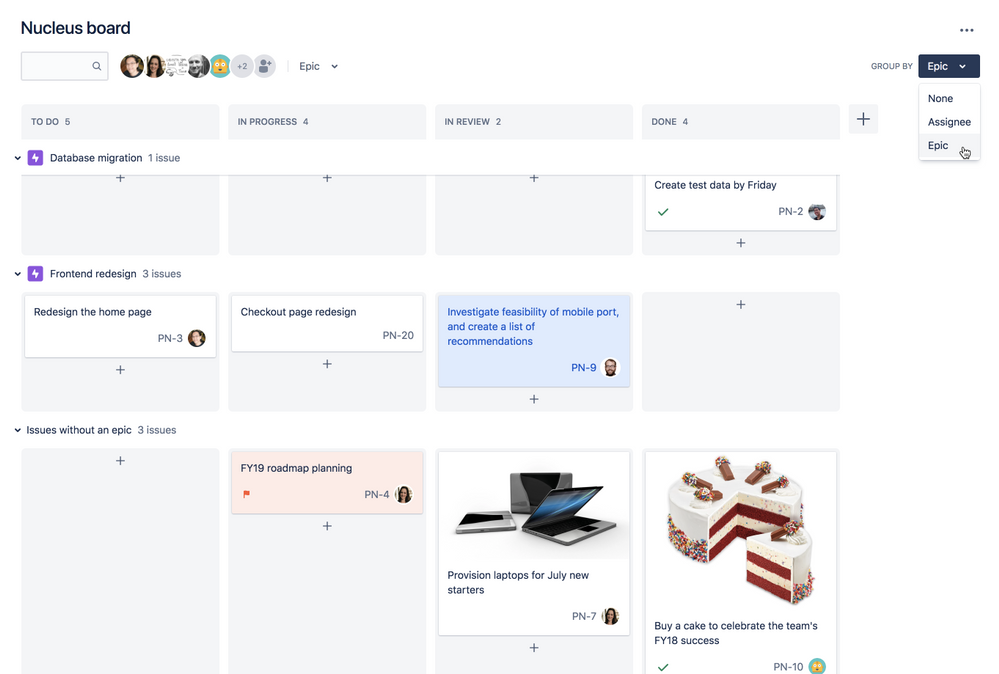
Step 4: Set up swimlanes for your epics on your board
During a sprint, you might find it useful to divide your board into swimlanes for each epic, to make the board visually clearer.
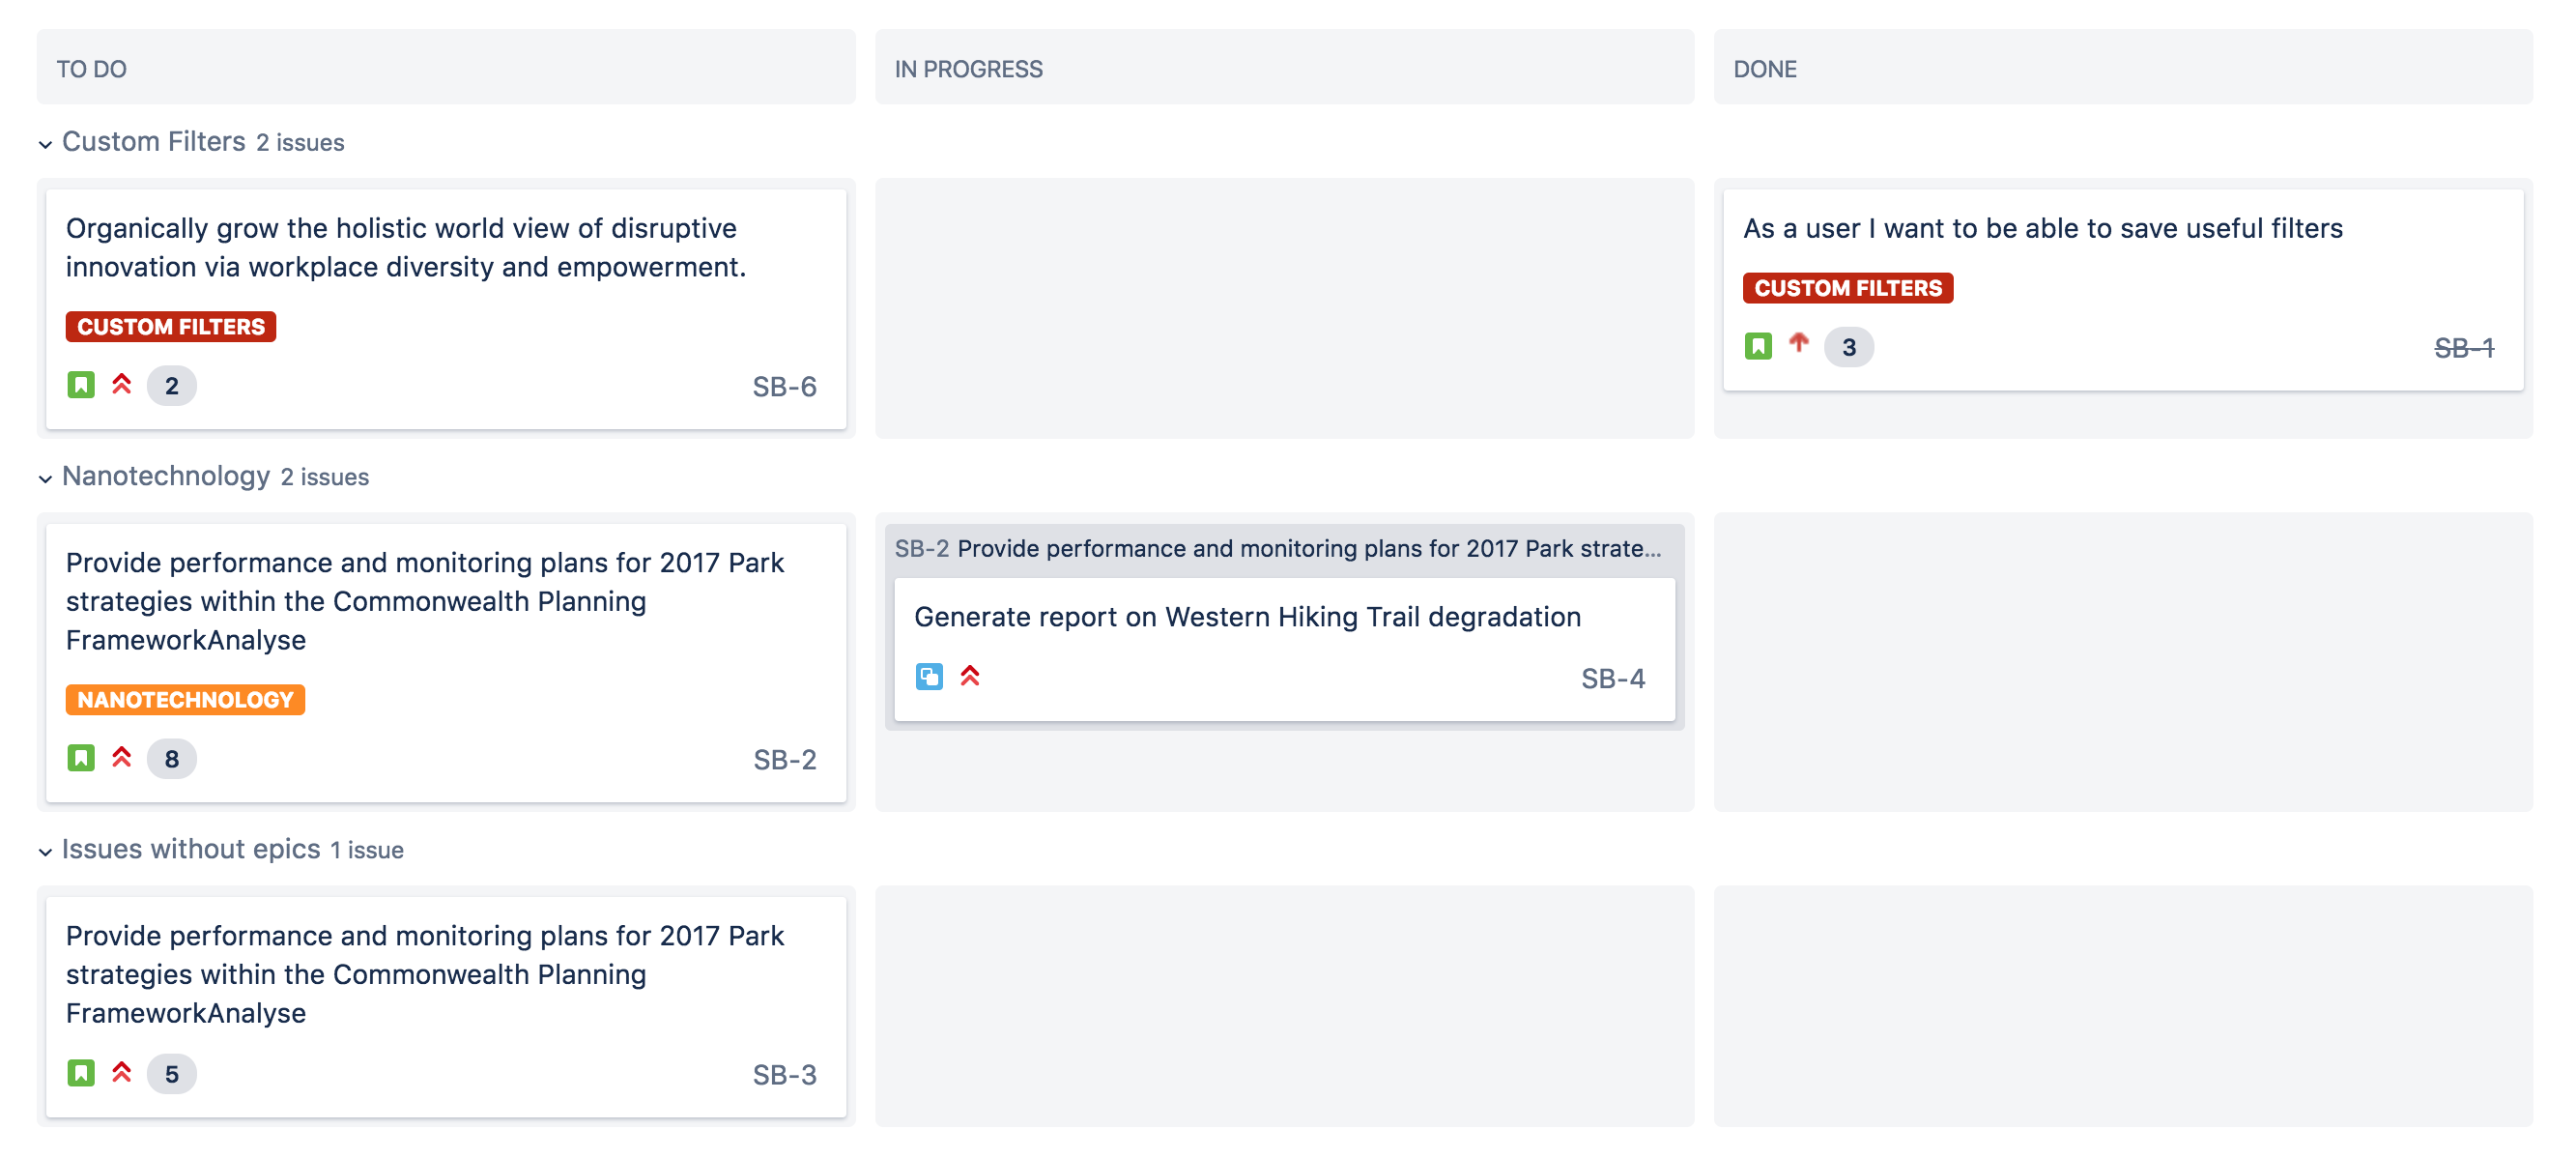
Here's how you can set this up in Jira Software:
-
Navigate to the Backlog (or active sprint).
-
Ellipses buttonSelect more (
 ) > Board settings.
 -
Click on Swimlanes.
-
Under Base swimlanes on, select Epics.
When you start a sprint, your board will show issues grouped under their respective epics.
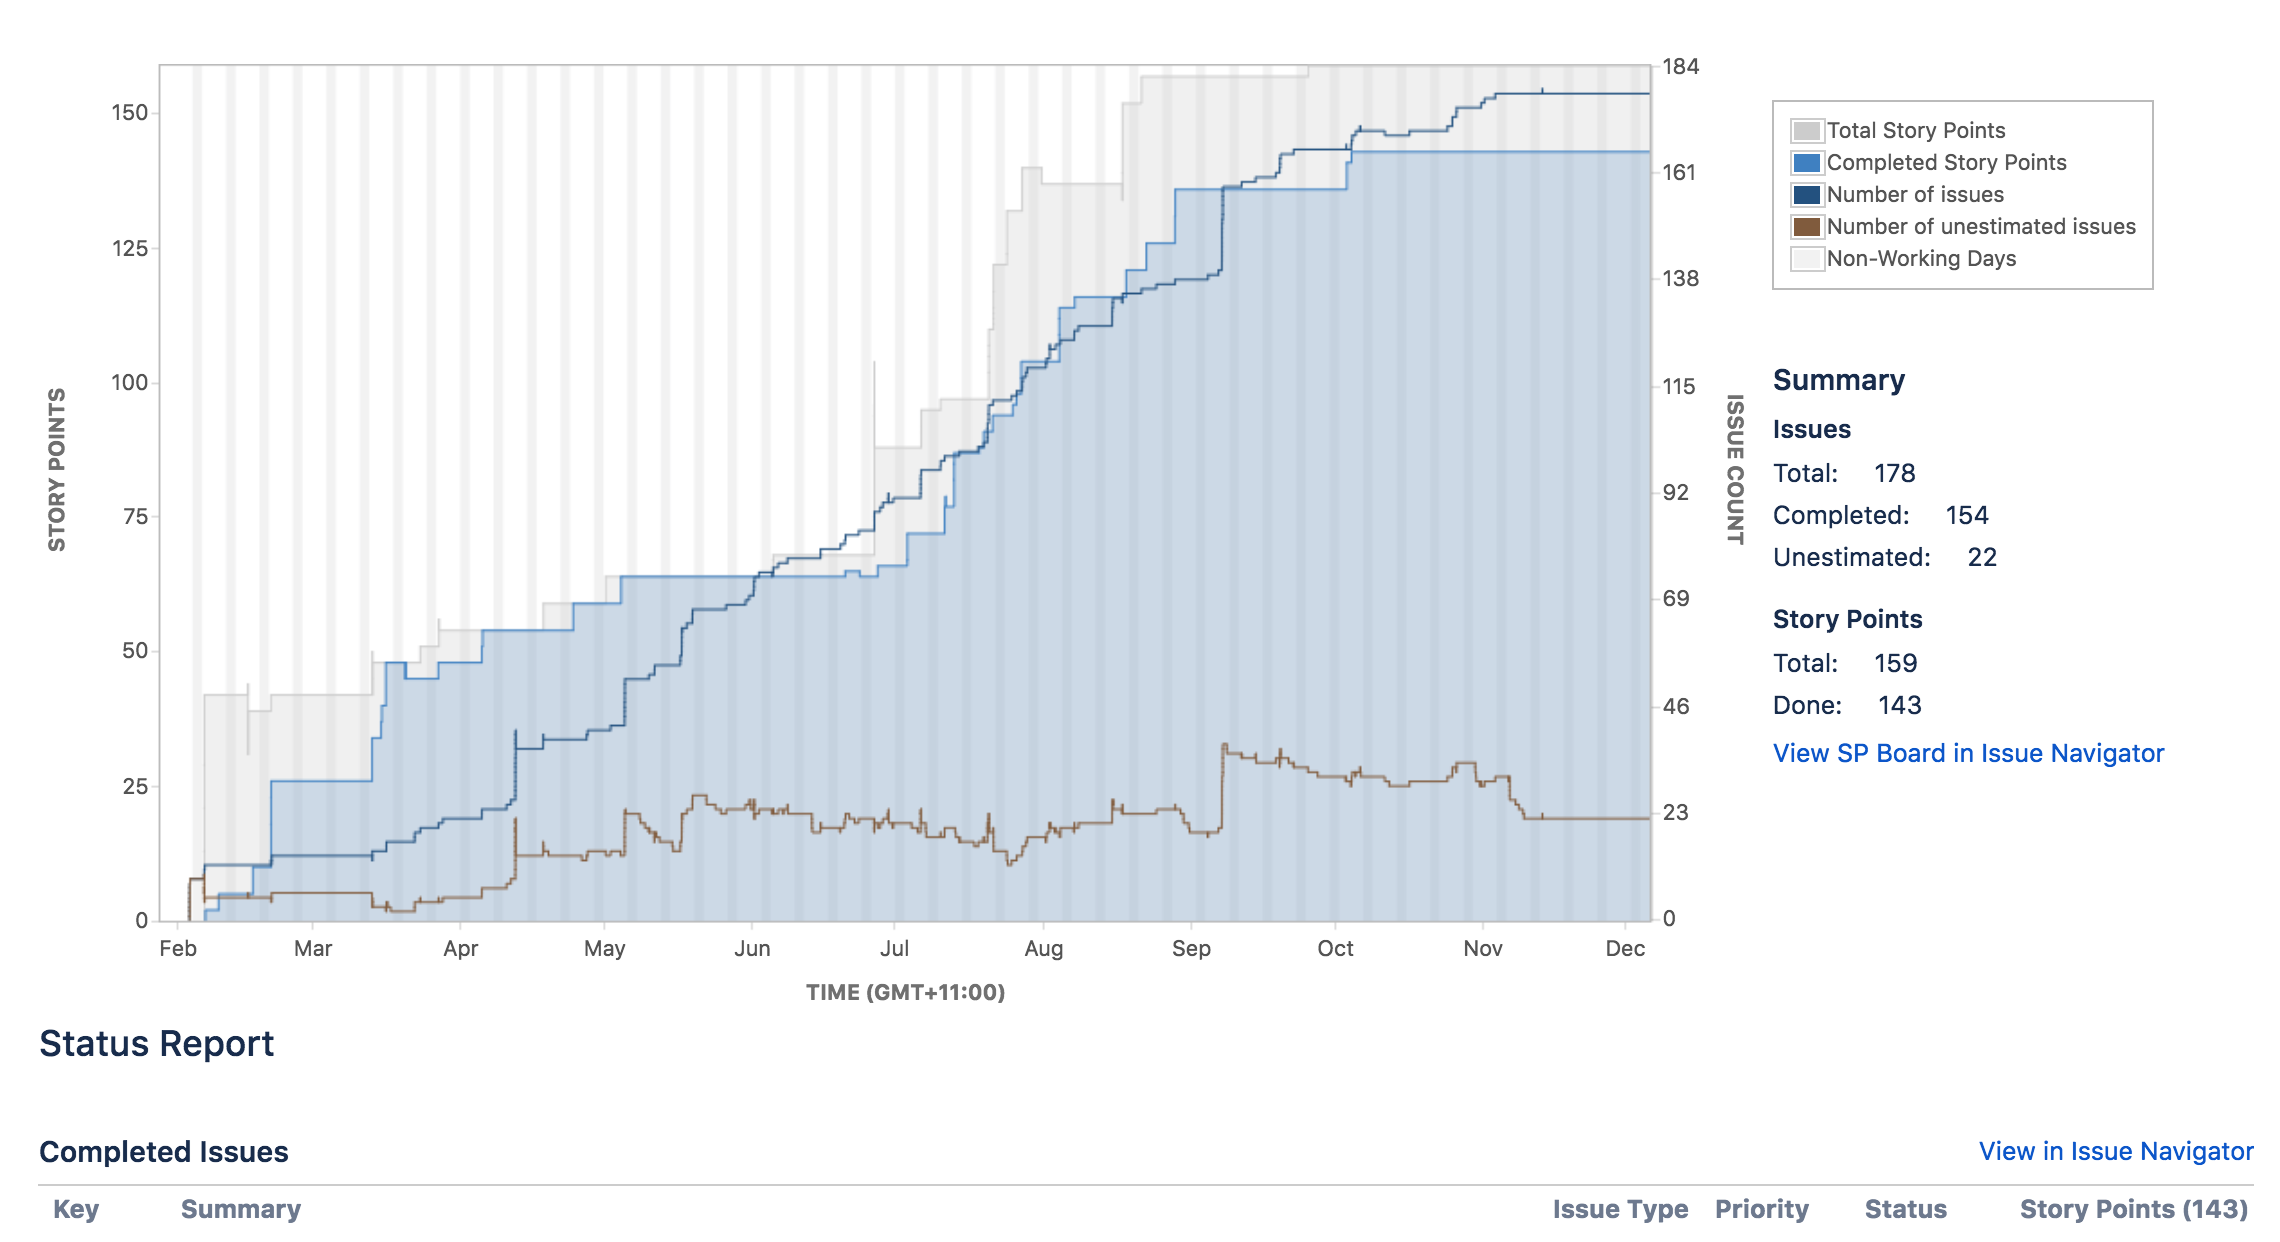
Step 5: Monitor the progress of your epic
You may find it important to keep track of all incomplete issues attached to an epic. For example, if you have an epic that will span multiple sprints, you might find it useful to track the amount of work remaining over time so you can estimate when the epic will be completed.
In Jira Software, you can use the Epic Report to easily obtain this information.
Step 6: Complete your epic
To complete an epic navigate to the backlog or roadmap
Backlog
- Navigate to the Backlog.
-
Open the Epics Panel.
-
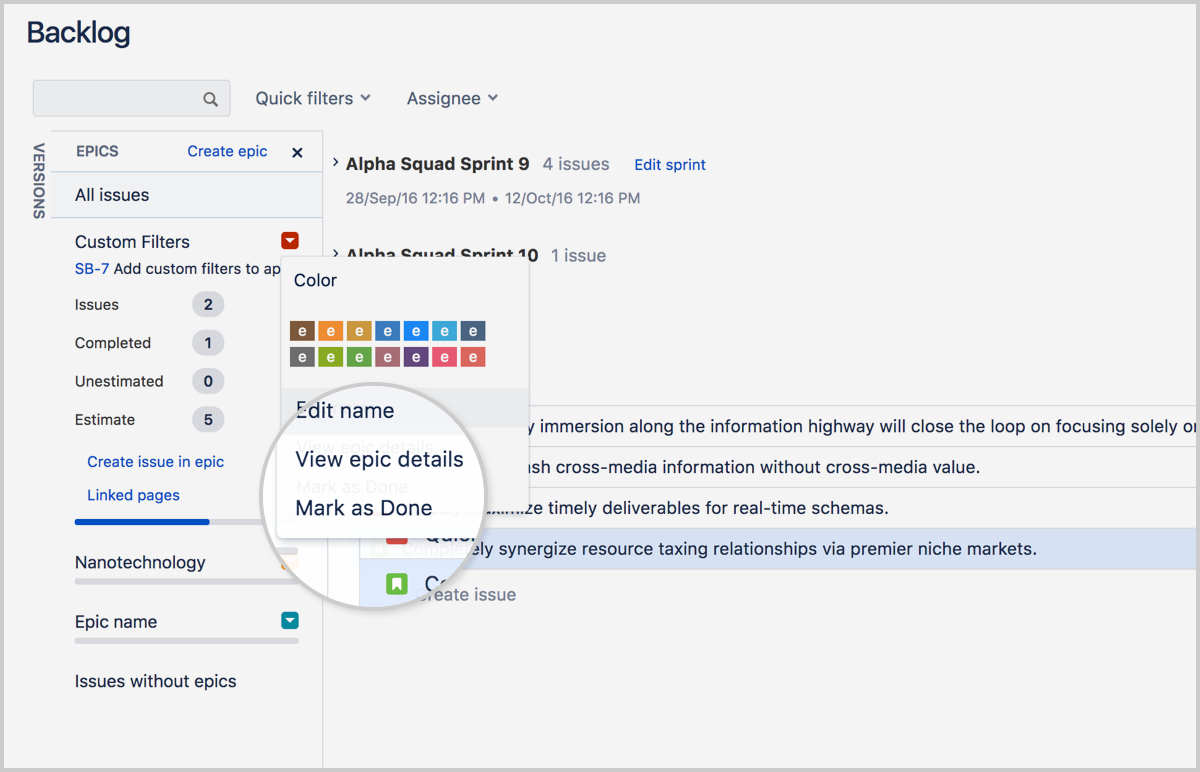
Click the drop-down for your epic, and select Mark as Done.
Automation is a great way to ensure your epics, stories, and sub-tasks always stay in sync. See one of the most common use cases in the Jira automation template library.
Roadmap
- Navigate to the Roadmap
- Click on the epic
- Click the status drop-down in the detail view and select Mark as Done.
Mark your epic as done whenever all work for the epic is complete. To make this easier, we recommend coming up with a clear definition of done for your epic. Any stories linked to the epic don't have to be complete to mark an epic as done.
Want to learn more?
For more detailed information on working with sprints in Jira Software, check out our sprints tutorial.
Have questions? Ask the Atlassian Community.
Working with epics in team-managed projects
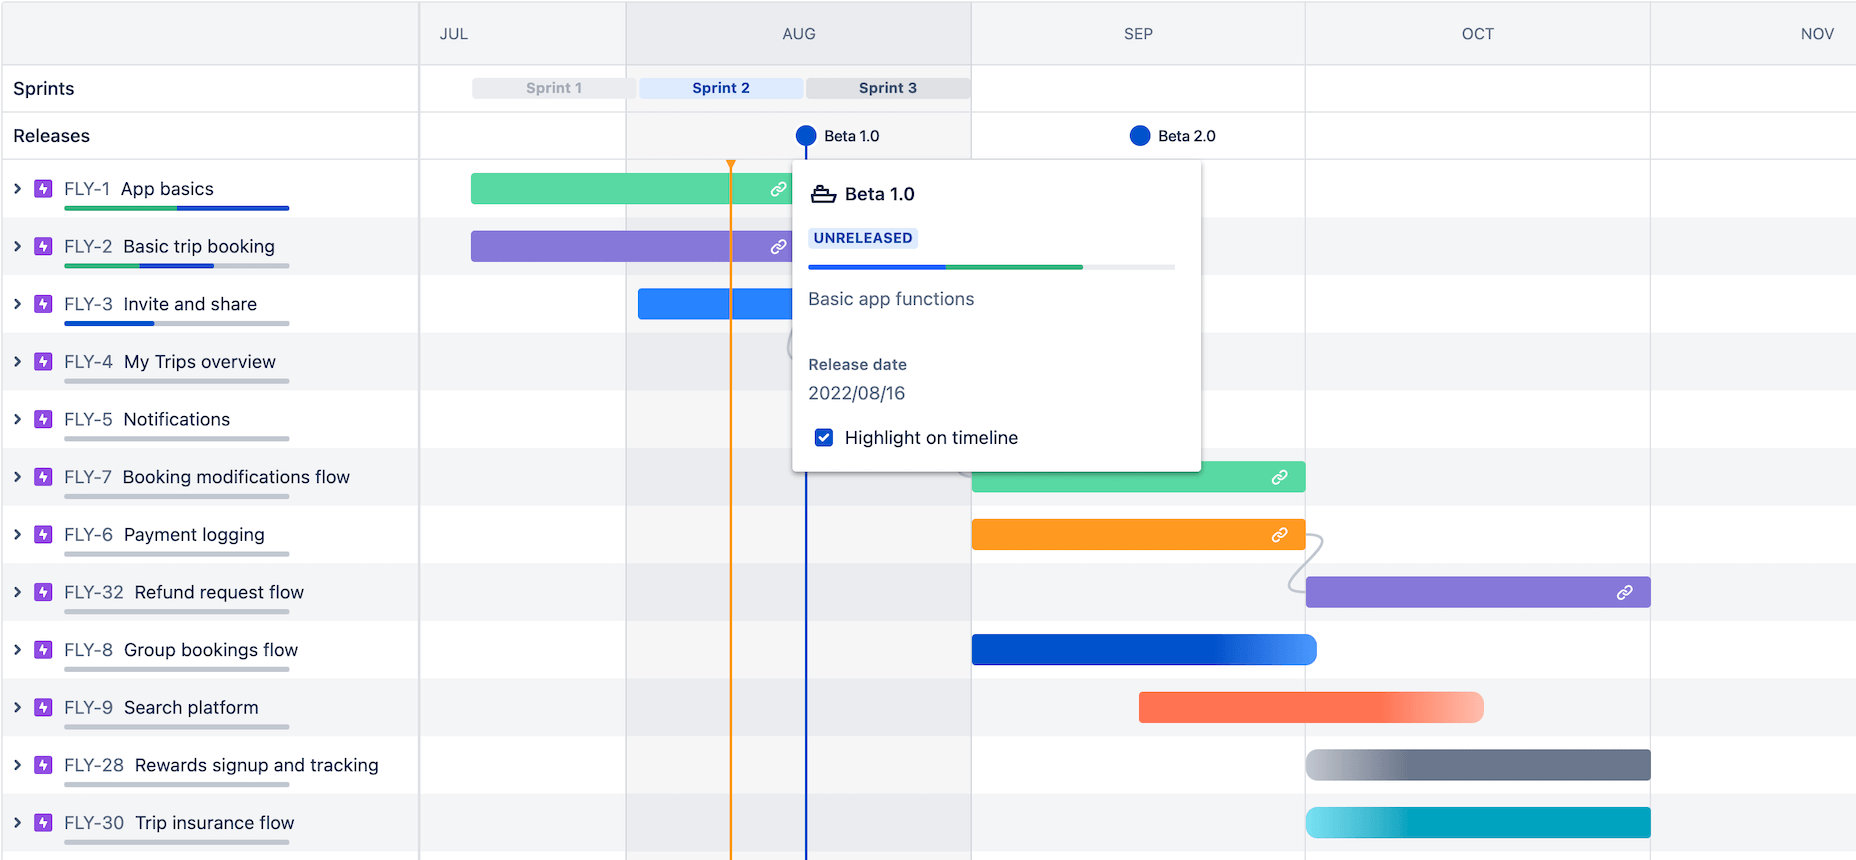
The Roadmap is a place where you can create, manage, and visualize your team's epics. Roadmaps are useful for planning large pieces of work several months in advance and to bundle together similar stories across different sprints.
Step 1: Create a new epic in Jira Software
There are three ways to create epics in Jira Software, from the Roadmap, Backlog, and using the global navigation menu. When you create an epic, you'll need to enter the following details:
- Epic name - A short identifier for your epic. This will be used as a label on issues that belong to this epic.
- Epic summary - You'll see this whenever Jira displays the epic.
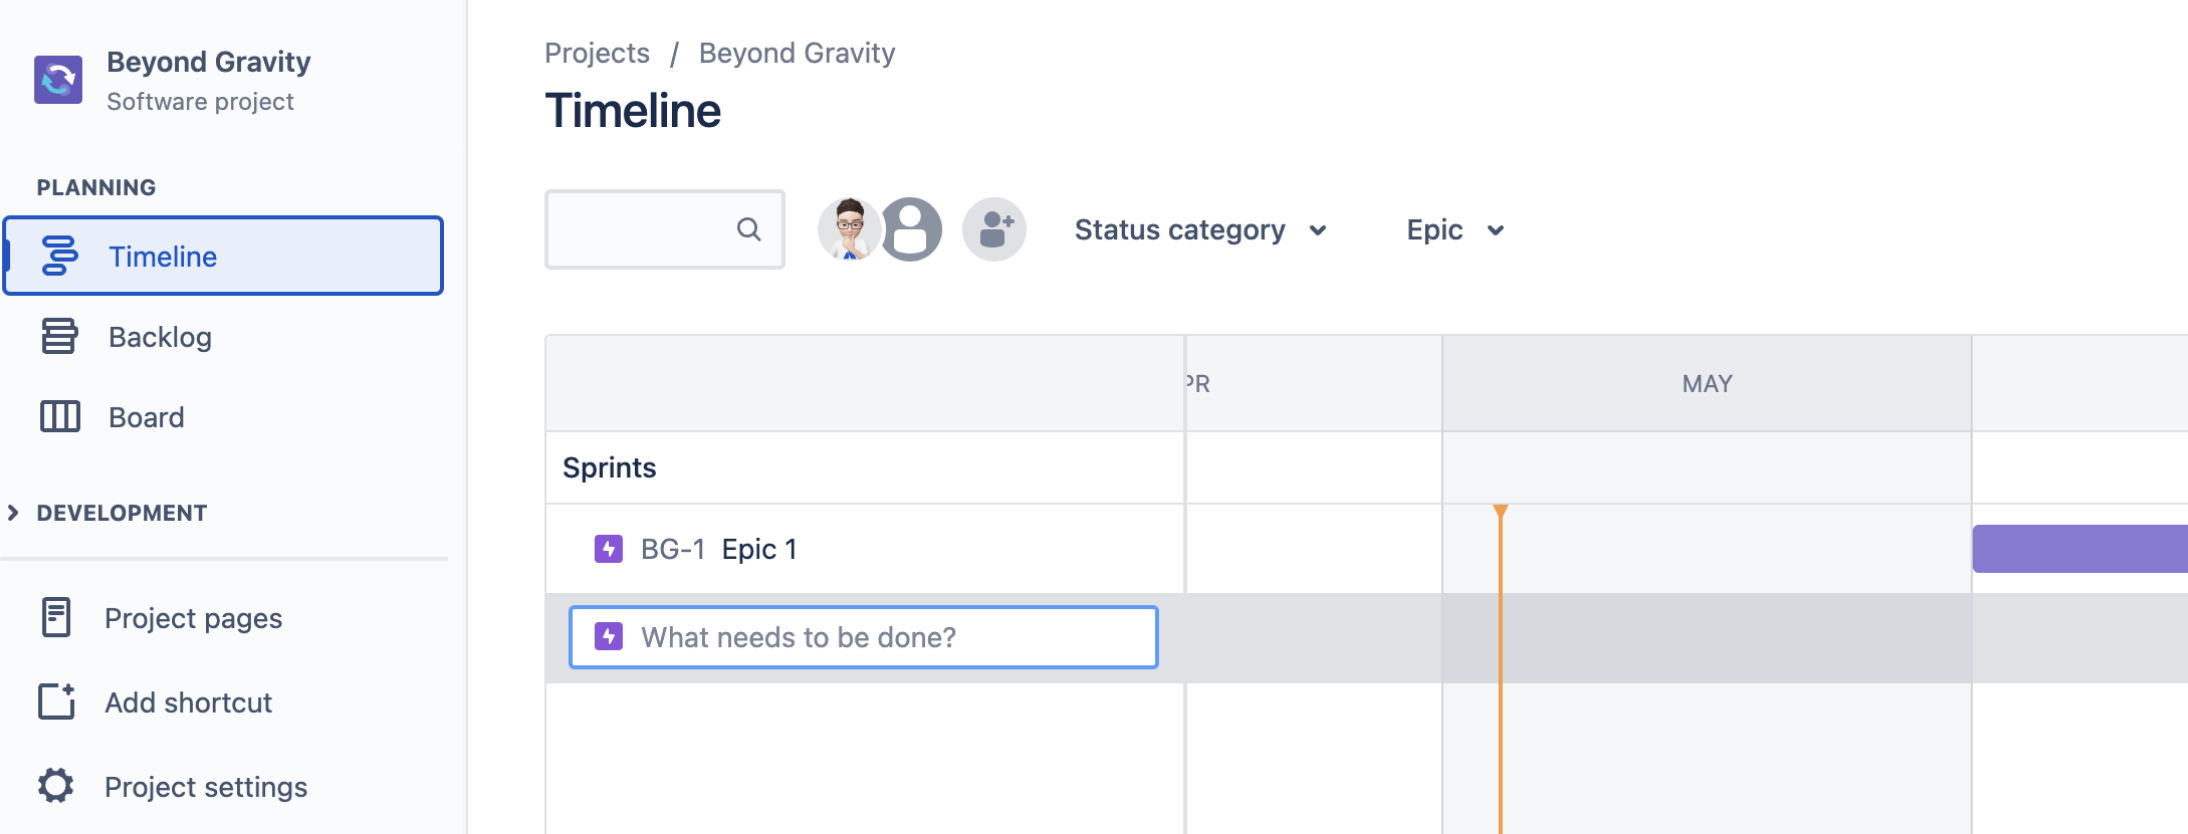
Create epics on the Roadmap
Epics are created and managed on the Roadmap. The Roadmap is useful for visualizing and planning large pieces of work that may be in progress right now or you may prioritize in the future.
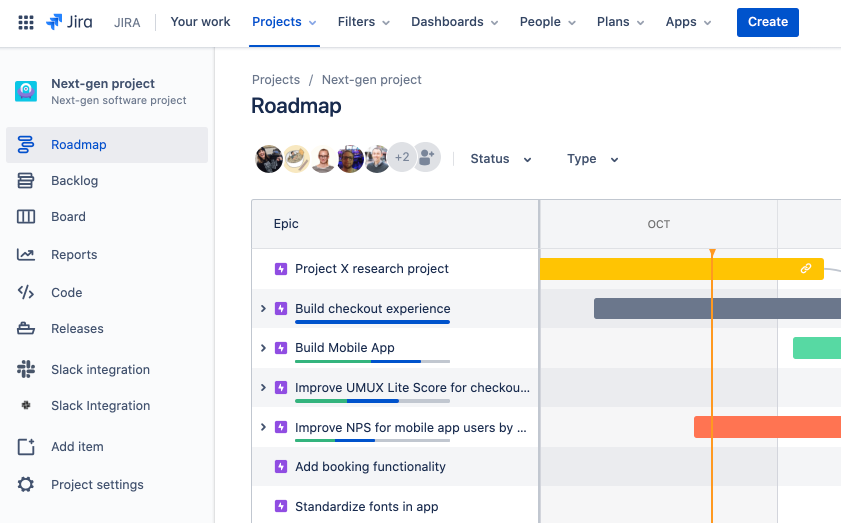
- Roadmap on left side navIn the project menu, select Roadmap.
- Create epic nameHit the + in the first column to create an epic. If your roadmap is empty, you can just start typing to create your first epic.
Create an epic from a new issue
You can create epics and any other issue types from any screen using the global navigation menu. if you create an epic from your board view that epic will only display on your roadmap or backlog.

- Click the create button located in the global navigation bar at the top of the screen.
- Select Epic for the issue type.
Create an epic from the Epics Panel in the backlog
To use a backlog for kanban toggle on your backlog feature in the board settings. See Enabling the Kanban backlog for more information.
- Navigate to the Backlog.
- Click on the Epics Panel.
- Create epic button on bottom of epic columnHit Create Epic.
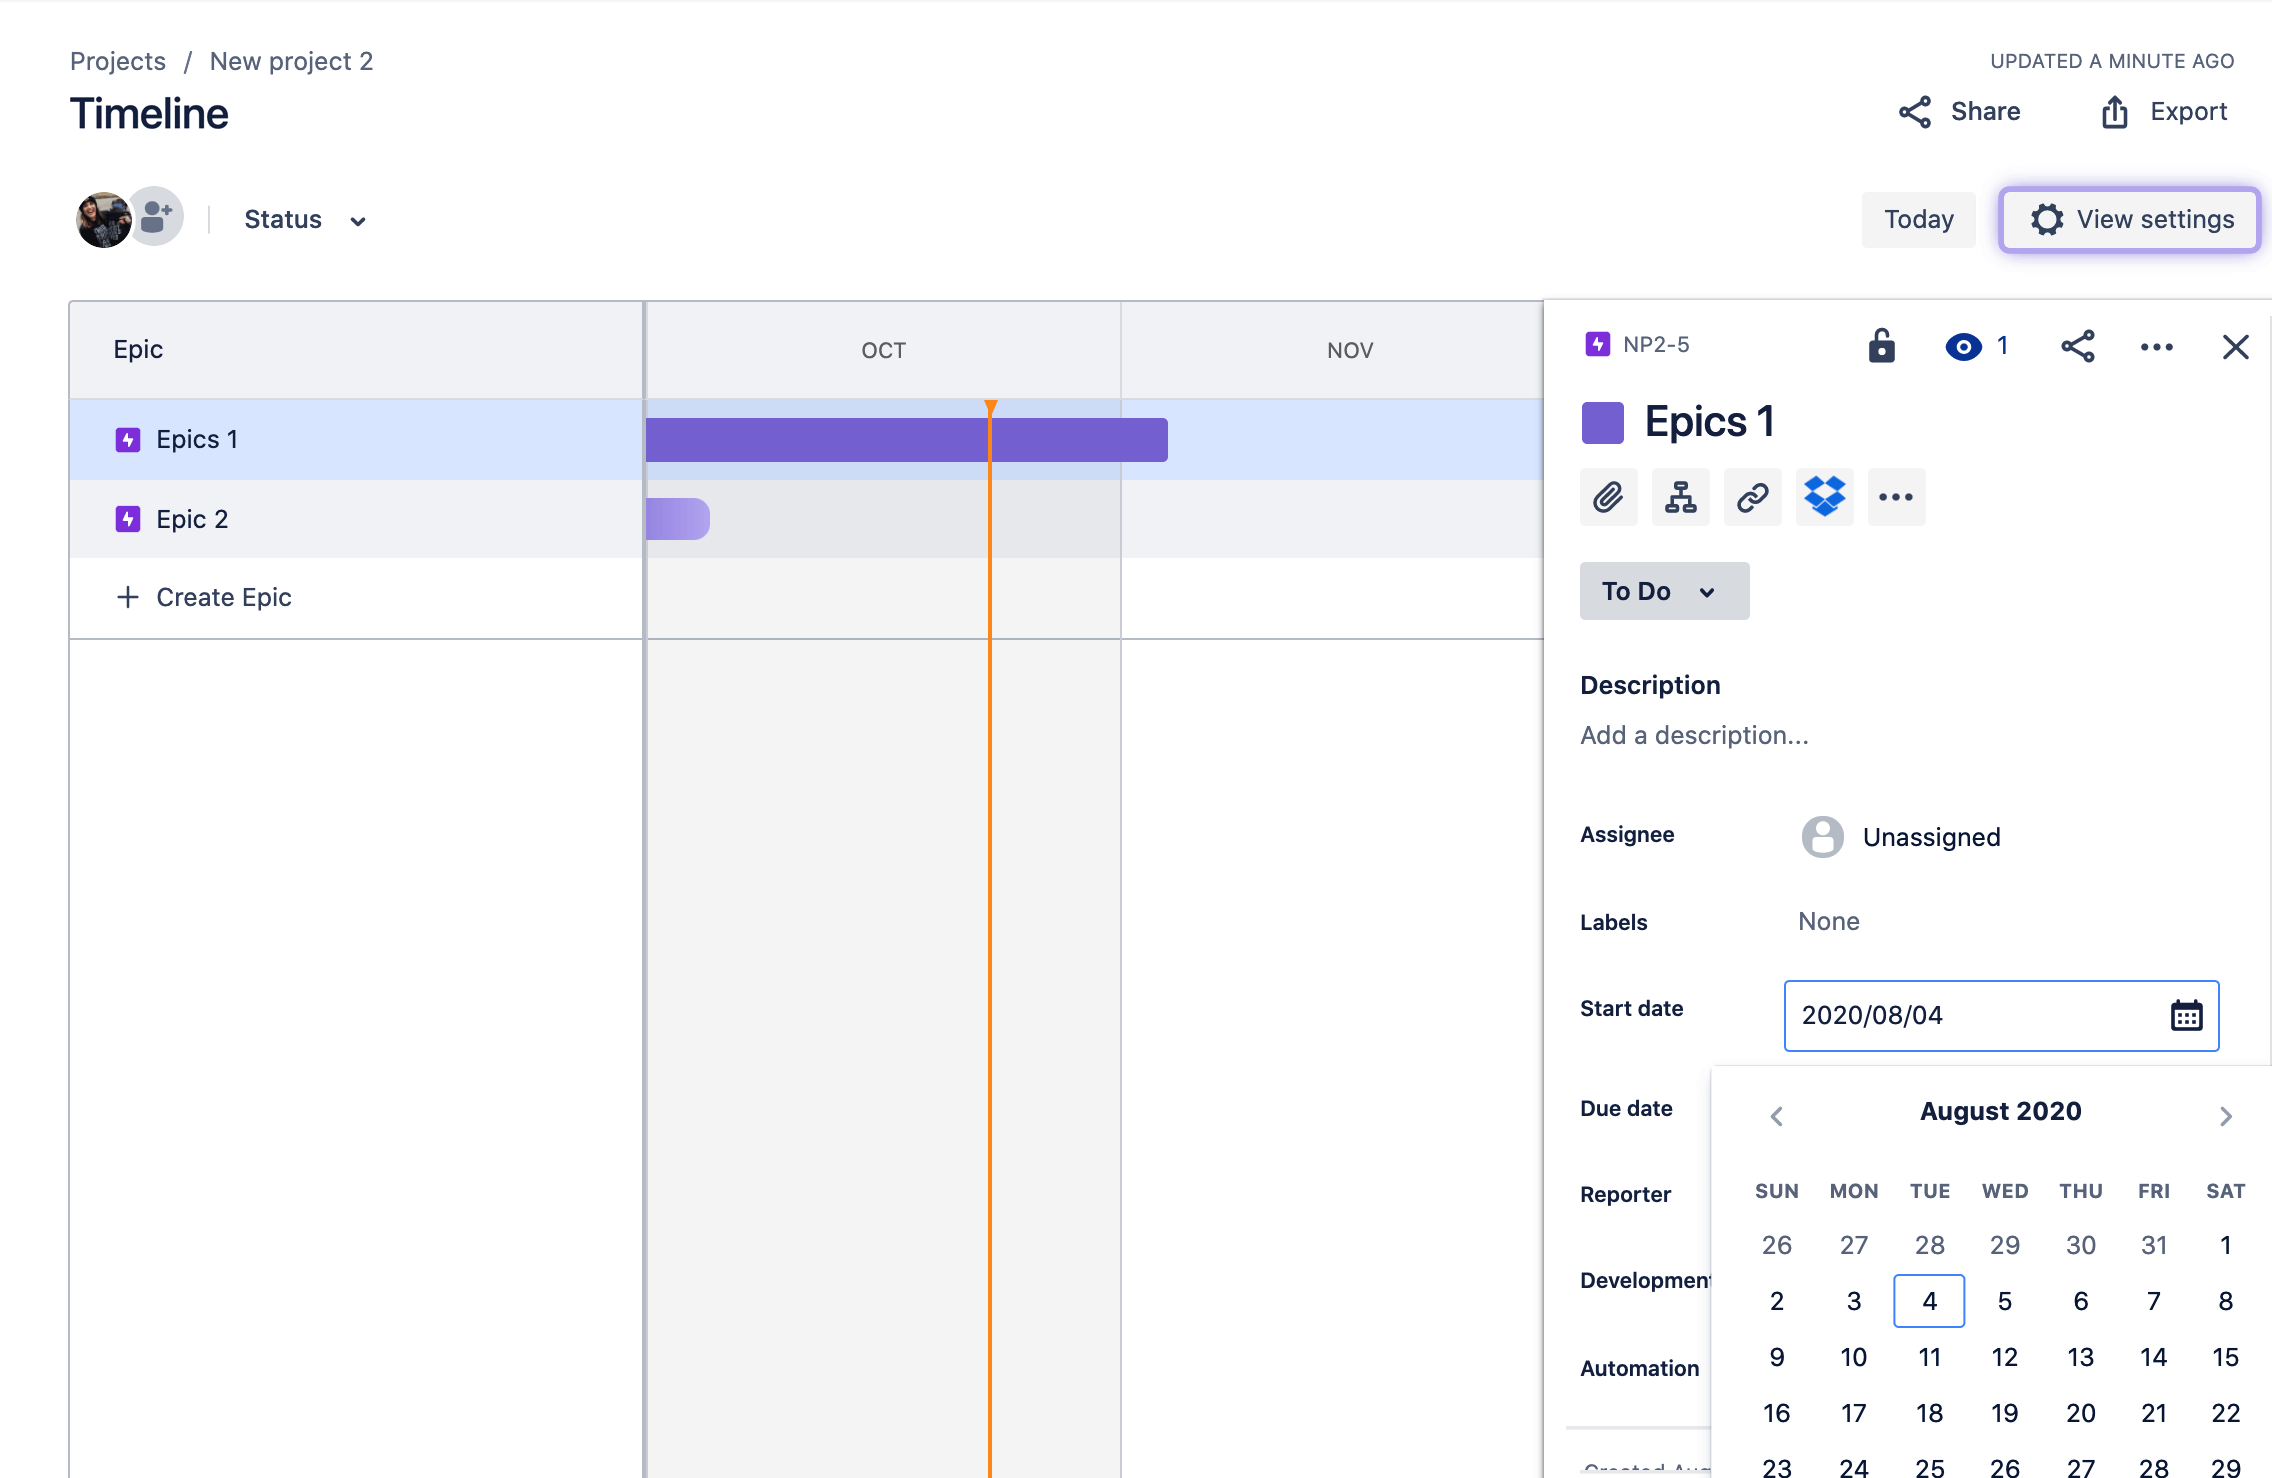
Step 2: Modify start and due dates
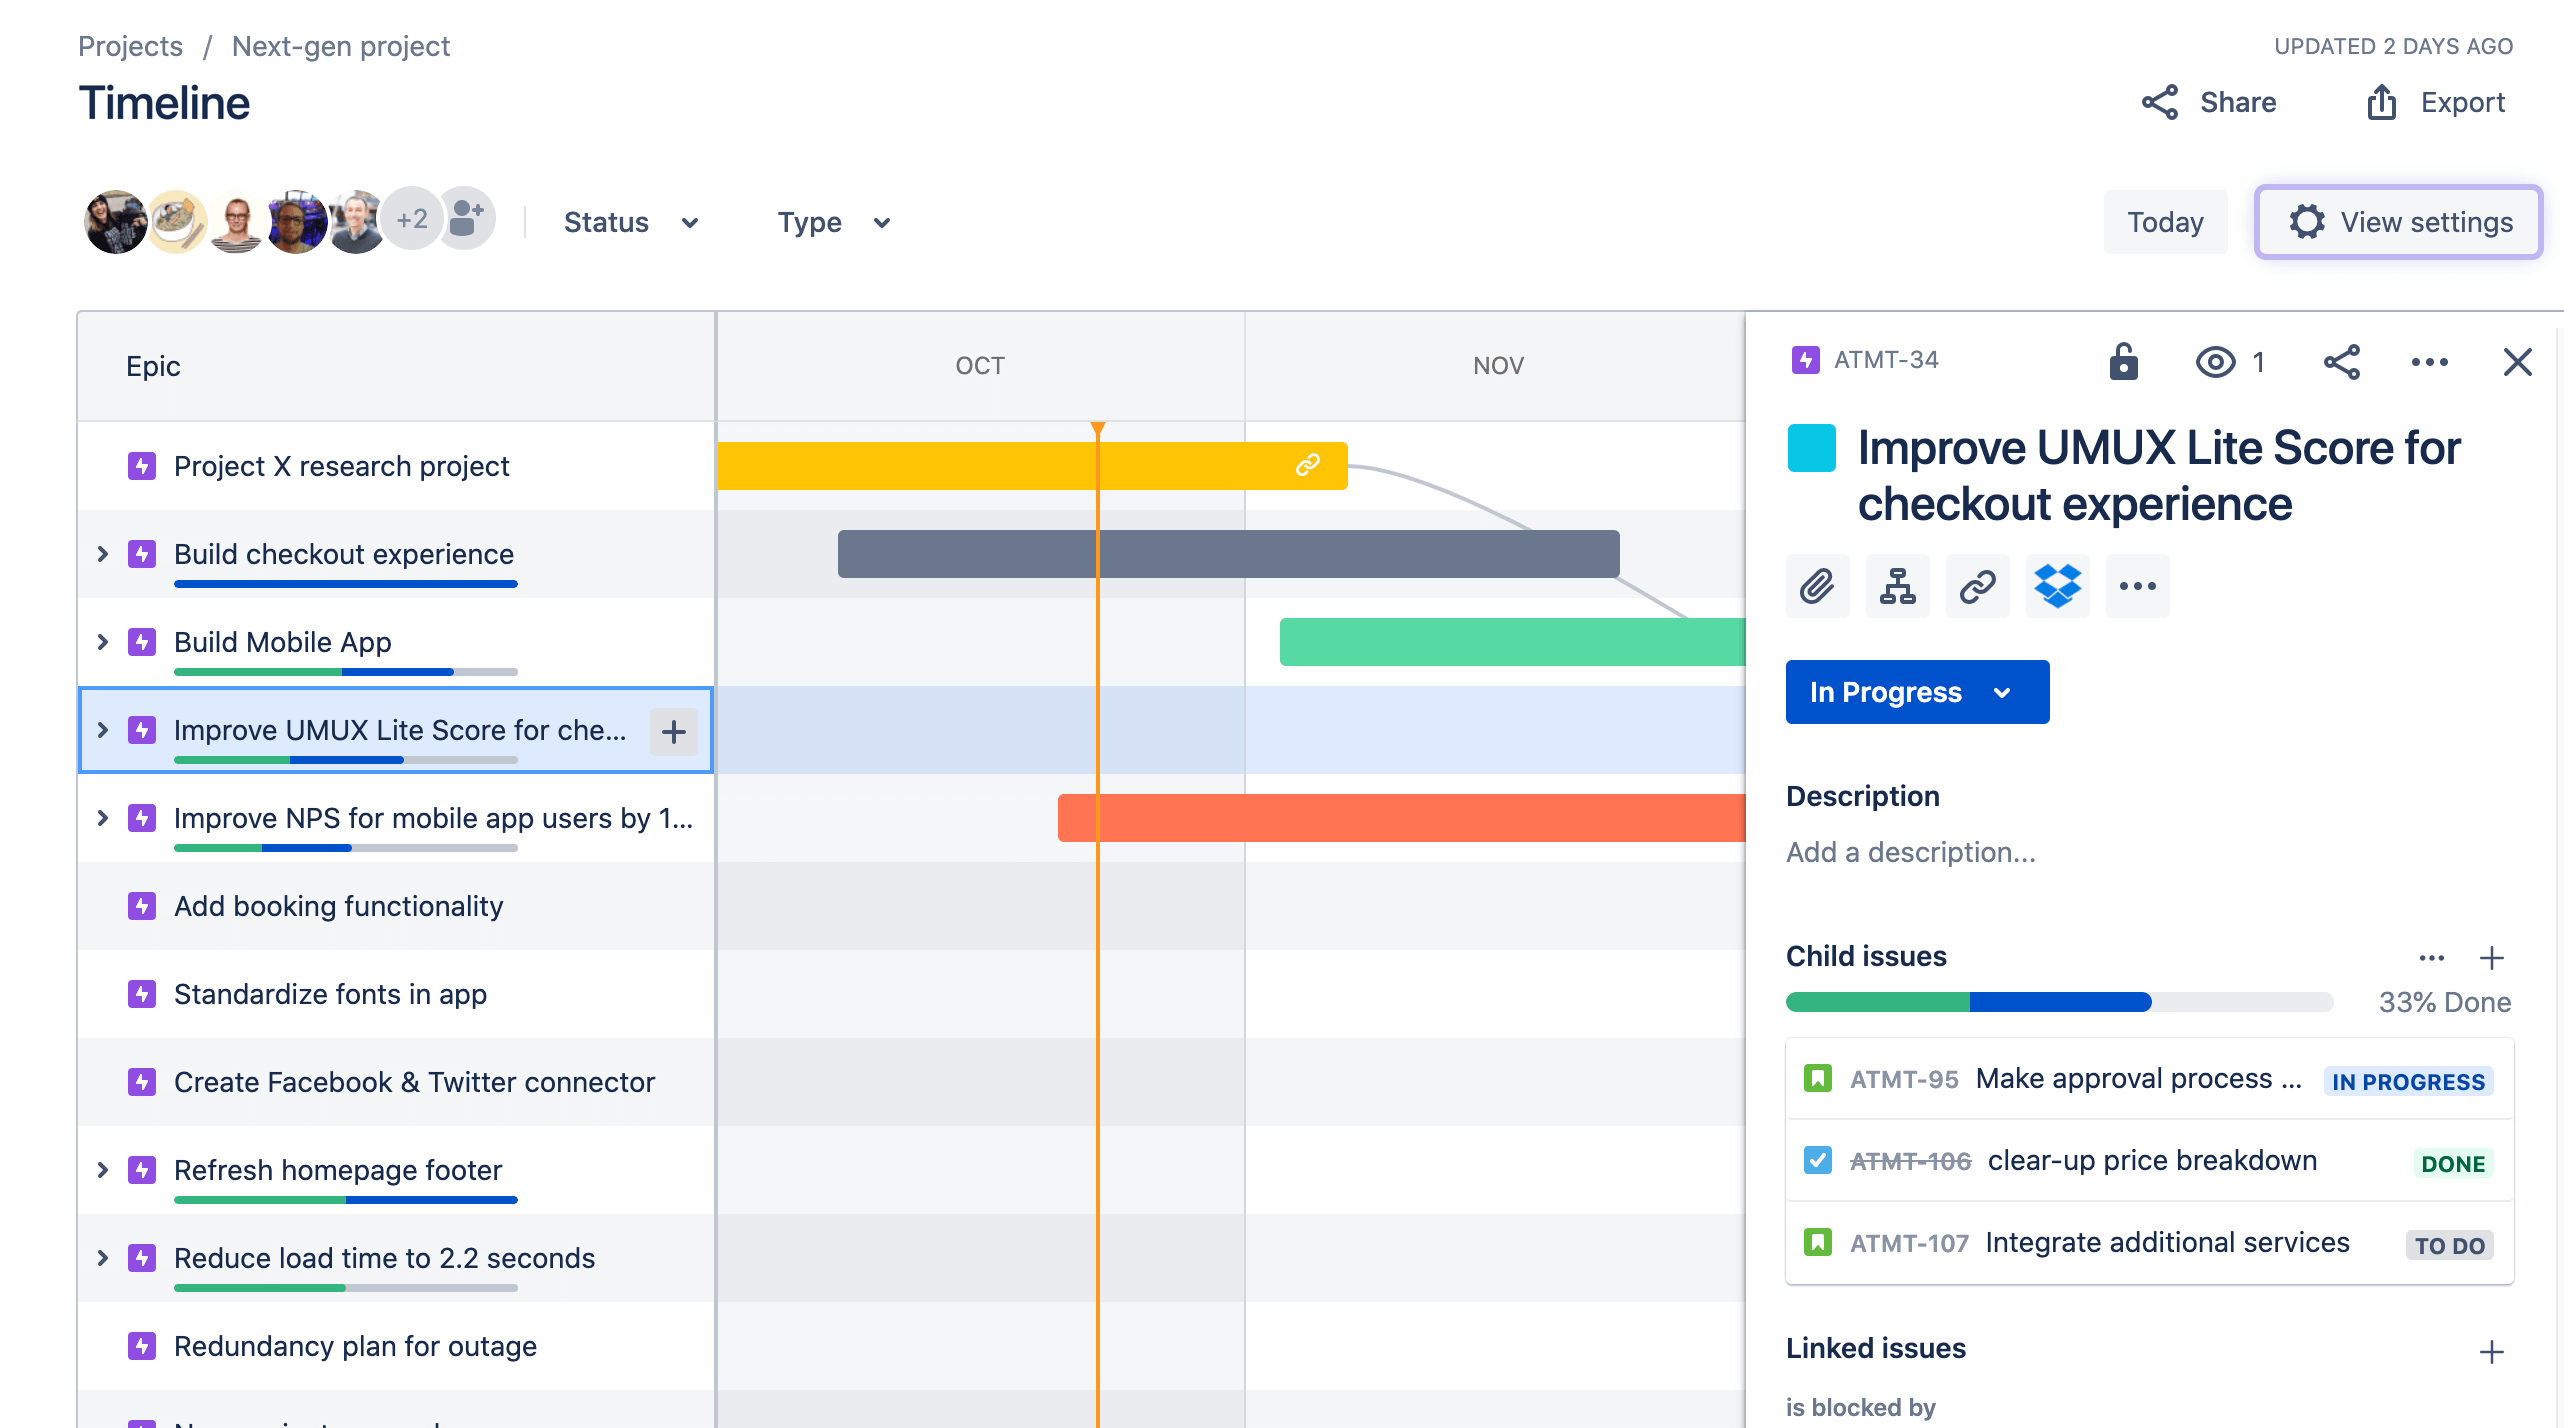
From the Roadmap, drag the edges of the epic bar to modify the start and due dates. You can also edit these dates by clicking an epic in the Roadmap or Backlog. While setting start and due dates isn’t required, we recommend you do to help with long-term planning.
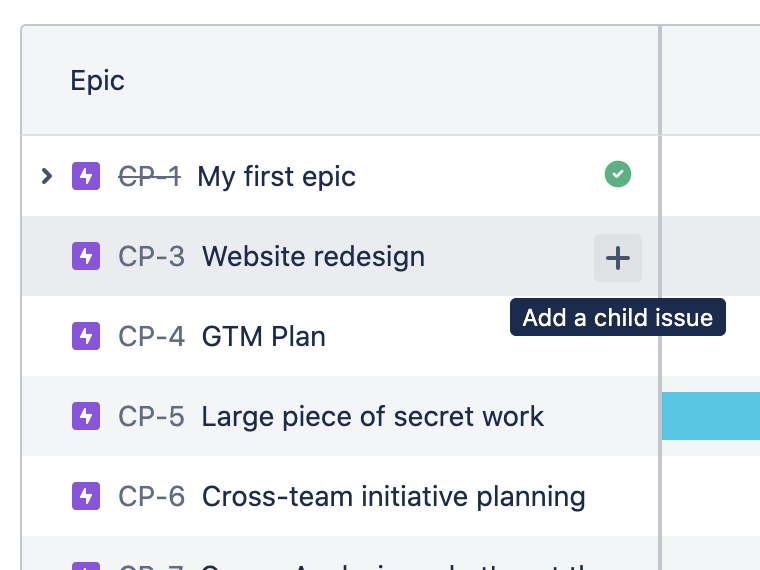
Step 3: Add child issues
You can add new child issues to an epic directly from the Roadmap, Backlog, or Board within the issue details.
Stories, bugs, and tasks describe a single piece of work, while epics are used to describe a group of issues that all relate to the same, larger body of work. Epics are typically completed over several sprints, or a longer time frame if you don't use sprints. Check out our guide on delivery vehicles to learn how agile teams gracefully manage scope and structure work. You can also reference the guide to working with issues in Jira Software.
On the Roadmap
-
Hover over an epic and click + Add a child issue.
- Click the arrow to select the issue type. Hit enter to create the child issue.
Board and backlog
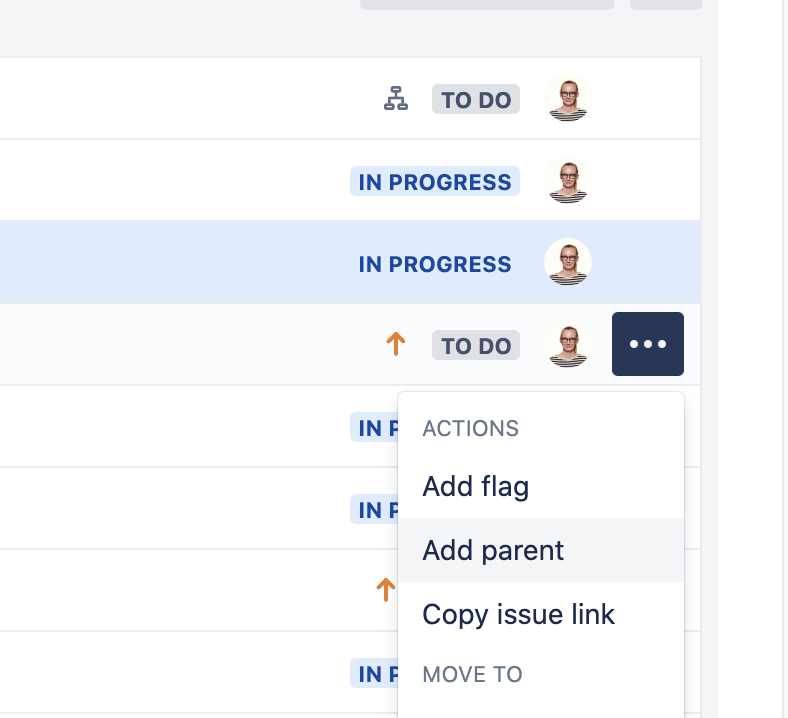
- Navigate to your Board or Backlog to add issues to epics
- Hover over an issue, and select more (•••).
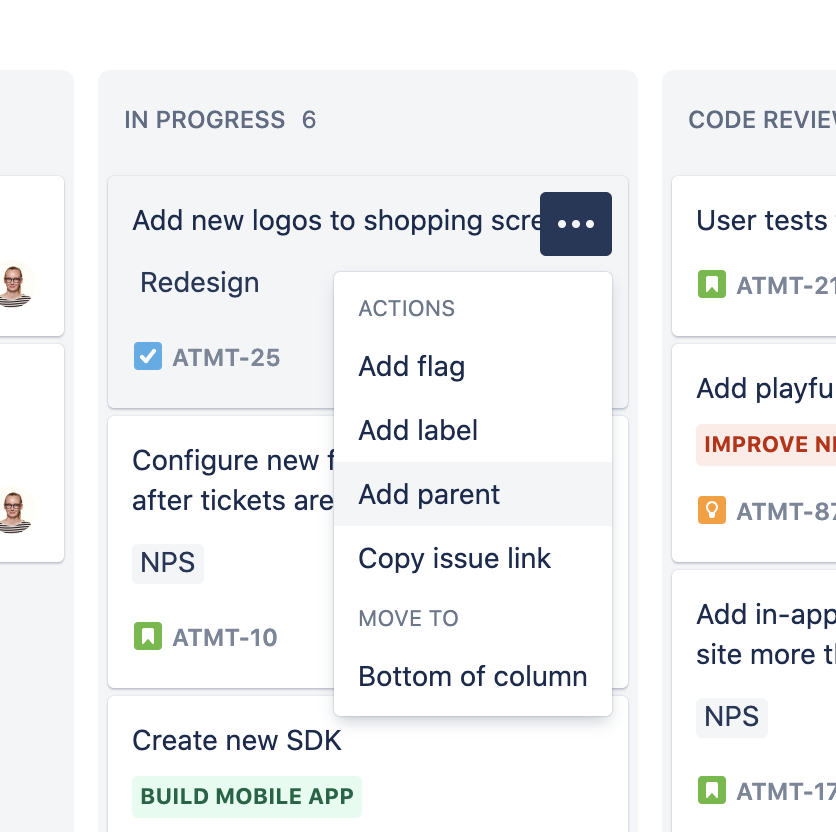
On the Board
On the Backlog
In issue detail view from board or backlog
Pro tip: You can select multiple issues with Command + Click on Mac or Ctrl + Click on Windows, and add them all to an epic at the same time.
Step 4: View an epic's details
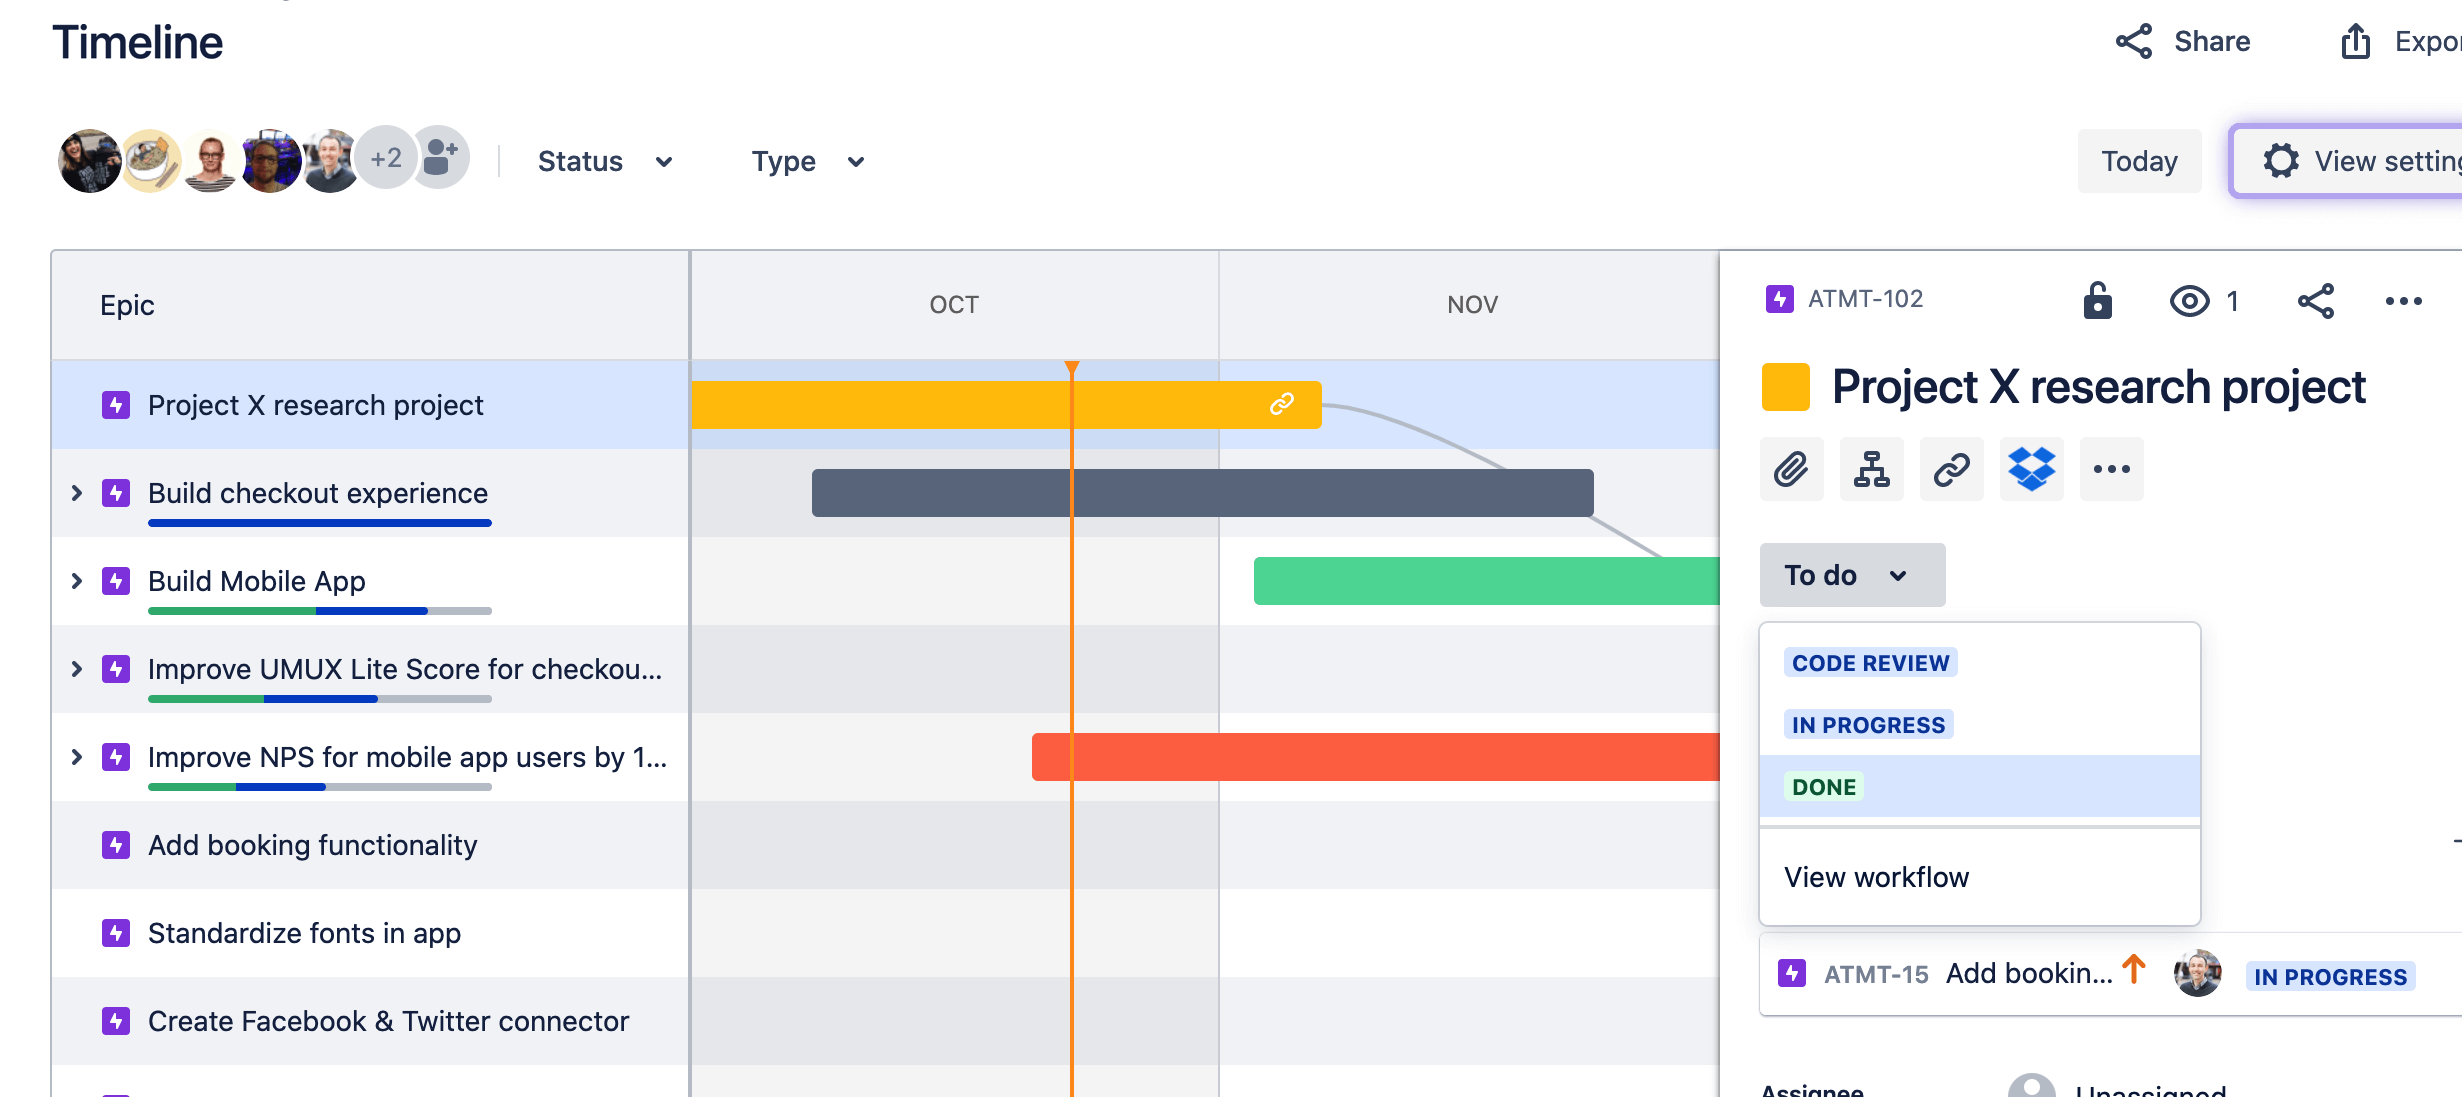
You can view an epic's details, like start date, due date, and child issues by selecting the epic in the roadmap or backlog.
Step 5: Set up swimlanes for your epics
During a sprint, you might find it useful to divide your board into swimlanes for each epic, to easily visualize your progress. To set this up in your team-managed project:
- Navigate to your board.
- In the top-right corner, select the Group by menu.
- Select Epic.
Pro tip: You can create issues under an epic swimlane to quickly add a new issue to an epic. This also works if you've selected an epic in your filter.
Step 6: Complete your epic
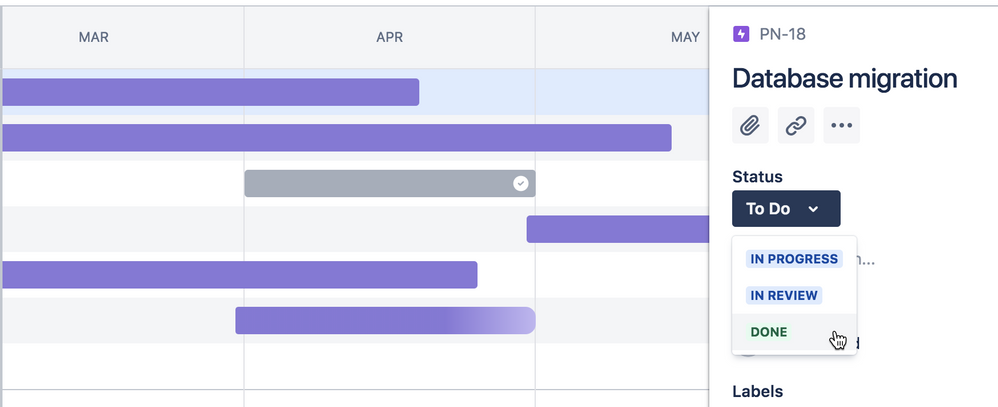
Once all the work for an epic is completed, you should mark it as complete on the roadmap.
To complete an epic:
- Navigate to the Roadmap.
- Select the epic you'd like to mark as complete.
- Under Status, select Done.
Mark your epic as Done whenever all work for the epic is complete. To make this easier, we recommend coming up with a clear definition of done for your epic when you create it. Child-issues don't have to be complete to mark an epic as done.
Learn more
- To learn more about the Roadmap, check out the Roadmap documentation.
- To learn more about configuring your issue types, including epics, check out our team-managed projects documentation.